
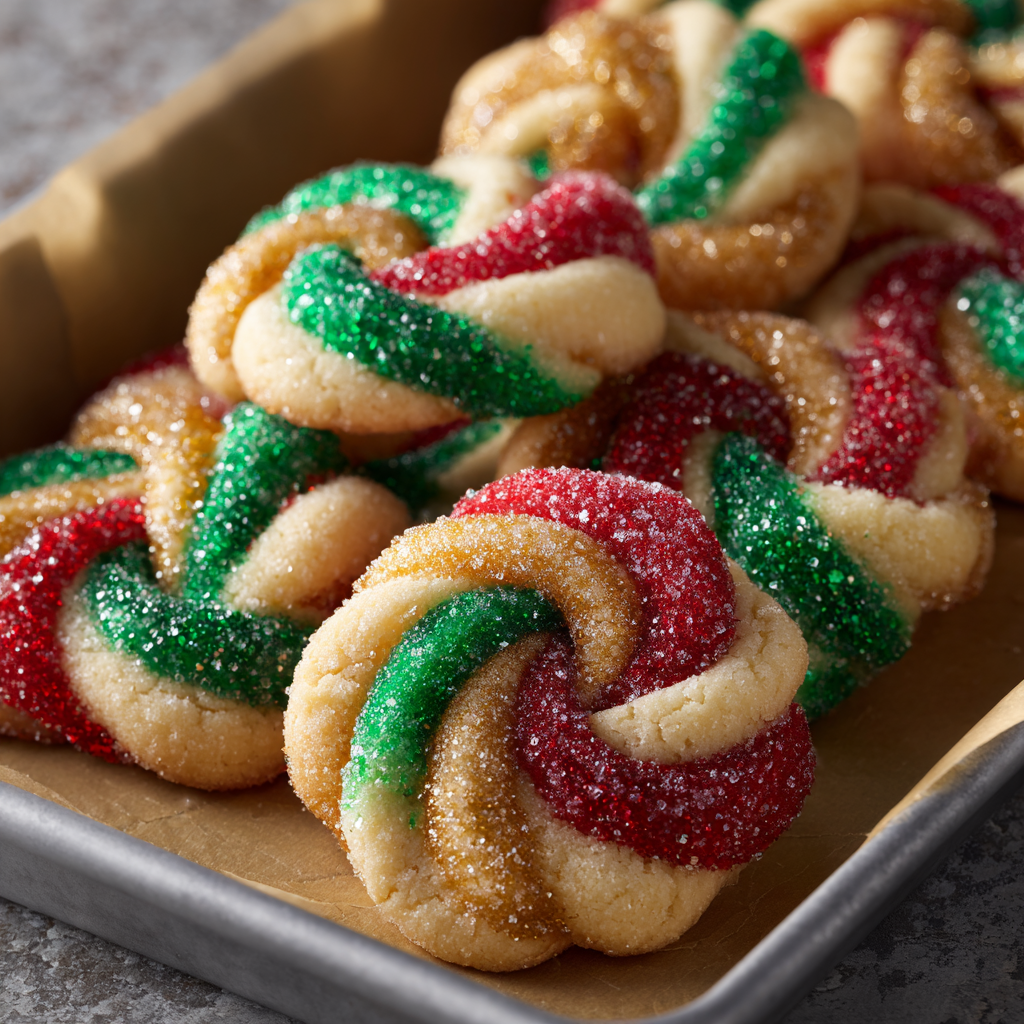
Twisted Christmas Cookies

Buttery, tender cutouts with bright citrus notes and glossy meringue icing — a festive cookie that's perfect for gifting, decorating, and holiday memories.
This recipe for Twisted Christmas Cookies has been a holiday anchor in my kitchen for nearly a decade. I first developed this version on a snowy December afternoon when I wanted a sturdier cutout that still melted on the tongue. The dough is rich and buttery with a whisper of almond and a bright orange lift that keeps the sweetness lively. I learned to balance the texture so the cookies hold detailed shapes but remain tender, which made them ideal for elaborate decorating sessions with family and friends.
What makes these cookies special is the ritual around them: rolling out dough on a floured board, arranging shapes on the tray, and letting little helpers add sprinkles before the icing sets. The meringue-based icing dries to a glossy, slightly crisp finish that showcases colored details wonderfully and accepts edible glitter or crushed candy canes without bleeding. Whether you're making simple stars for a plate or intricate scenes for a cookie swap, these are reliably delicious and deeply nostalgic.
Why You'll Love This Recipe
- Every batch combines pantry-friendly staples to create sizeable yields — about 36 cookies — making this ideal for baking ahead or assembling a gift box.
- The dough balances richness and structure: it rolls smoothly at 1/4-inch, holds crisp edges when baked for 10–12 minutes, and stays tender inside.
- Meringue-based icing dries to a glossy finish that’s perfect for piping detail and holds sprinkles/glitter in place — no sticky mess after set.
- Flavor layers of vanilla, almond, and optional orange zest brighten baked richness and reduce cloying sweetness, pleasing both kids and adults.
- Make-ahead friendly: dough freezes well, and fully decorated cookies store up to a week, saving time on busy holiday days.
Every year my family insists these be the first cookies on the tree-trimming platter; neighbors ask for the recipe, and I always smile when I see the frosting choices — everything from classic red-and-green to metallic gold glitter. Baking these has become the kind of small holiday tradition I love: chaotic, sweet-smelling, and full of laughter.
Ingredients
- White sugar (1 cup): Provides structure and tenderness. Use standard granulated sugar (e.g., Domino or C&H) for predictable creaming and even browning.
- Butter (14 oz / 1 3/4 cups), softened: Unsalted, at room temperature for proper creaming. I favor European-style butter for a slightly richer flavor; avoid melted butter.
- Eggs (2 large): Add moisture and richness; bring to room temperature so they incorporate smoothly into the creamed mix.
- Vanilla extract (2 tsp): Use pure vanilla for depth — Nielsen-Massey is a favorite — rather than imitation for better flavor complexity.
- Almond extract (1 tsp): A little goes a long way; it gives a festive, marzipan-like lift without overpowering.
- Orange zest (zest of 1 orange, optional): Adds bright citrus notes that cut sweetness. Use organic when possible to avoid waxy residues.
- All-purpose flour (6 cups): Measure by spooning into the cup and leveling for accurate results — this amount yields a firm, rollable dough.
For the Icing
- Meringue powder (6 tbsp): Enables a stable, glossy royal-style icing without raw egg whites — handy for gifting and long display periods.
- Water (8 tbsp + extra to thin): Start with the amount called for and add tablespoon by tablespoon to achieve piping or flooding consistency.
- Lemon juice (2 tsp): Brings brightness and helps stabilize meringue; freshly squeezed is best.
- Powdered sugar (7 cups), sifted: Sift to avoid lumps; provides volume and the smooth finish that holds color well.
- Gel food coloring: Red, green, gold, and white for festive palettes — gels keep icing consistency intact compared with liquid dyes.
- Sprinkles, edible glitter, crushed candy canes: For texture and seasonal flair — add immediately after icing to ensure adhesion.
Instructions
1. Prep the oven and pans: Preheat to 350°F (175°C). Line 2–3 baking sheets with parchment paper to prevent sticking and encourage even browning. Position racks in the middle third of the oven for consistent heat circulation. 2. Cream butter and sugar: In a large bowl or stand mixer fitted with the paddle attachment, beat 1 3/4 cups softened butter with 1 cup granulated sugar on medium speed for 3–4 minutes until pale and fluffy. Proper creaming traps air, giving a lighter crumb; scrape the bowl halfway through to ensure even mixing. 3. Add eggs and extracts: Add the 2 large eggs one at a time, mixing until fully incorporated. Stir in 2 tsp vanilla, 1 tsp almond extract, and the zest of 1 orange if using. Mix on low just to combine — overbeating after eggs can create excess air and spreading during baking. 4. Incorporate flour: Gradually add the 6 cups of all-purpose flour, mixing on low until a shaggy dough forms. If the dough seems crumbly or doesn't come together, add up to 1 tablespoon milk (as needed) to bring it to a smooth, pliable consistency. 5. Roll and cut: Divide the dough if large, and roll on a lightly floured surface to 1/4-inch thickness. Use holiday cutters — trees, stars, mittens — and transfer shapes to prepared sheets, spacing them about 1 inch apart. For the cleanest edges, chill cut cookies on the trays for 10–15 minutes before baking. 6. Bake: Bake for 10–12 minutes, until edges are just set and beginning to take on a pale golden hue. Avoid overbaking; cookies will continue to firm as they cool. Cool completely on wire racks before icing to prevent runny decorations. 7. Make the icing: In a mixing bowl, whisk 6 tbsp meringue powder, 2 tsp lemon juice, and 8 tbsp water until frothy. Gradually add 7 cups sifted powdered sugar, beating on low until smooth and glossy. Adjust thickness with teaspoon-sized additions of water to achieve either piping (stiffer) or flooding (thinner) consistencies. 8. Color and decorate: Divide icing into small bowls and tint with gel colors. Use piping bags for detail and a toothpick or small offset spatula to flood areas. Add sprinkles, edible glitter, or crushed candy canes immediately after icing so they adhere as the icing begins to set. 9. Dry and store: Let decorated cookies sit at room temperature until the icing sets fully — usually 4–6 hours for thin layers, up to overnight for thicker designs. Store in a single layer or separated by parchment in an airtight container for up to one week.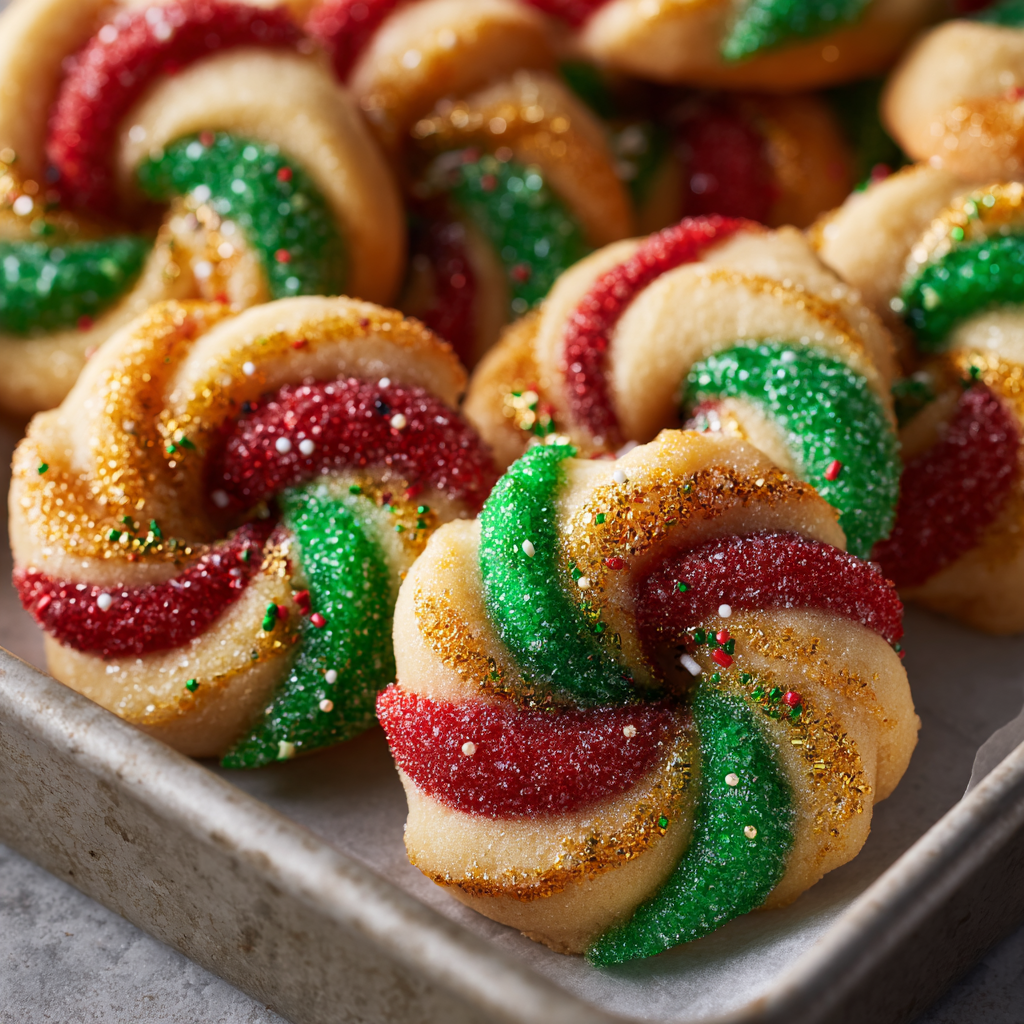
You Must Know
- These are high-calorie, festive treats; they freeze well for up to 3 months when layered between parchment in an airtight container.
- The meringue-based icing dries hard; if you prefer a softer finish, reduce the powdered sugar slightly and add a teaspoon more water for a glossier, less brittle top.
- Chilling shaped cookies before baking helps preserve sharp edges and prevents excessive spread — a 10–15 minute chill is usually enough.
- Decorated cookies are best stored at room temperature in a dry place to avoid blooming (white streaks) on colored icing caused by humidity.
My favorite thing about these cookies is the decorating table: tiny hands piping imperfect trees, a glitter-strewn chaos of creativity. I've packed these into tins for neighbors and brought them to holiday markets; everyone remarks on the snap of the icing and the buttery base. It’s become the cookie I choose when I want to give something that feels handmade and elegant.
Storage Tips
Store un-iced cookies in an airtight container at room temperature for up to 3 days, separated by parchment to prevent sticking. Fully iced and set cookies keep for 5–7 days at room temperature; for longer storage, layer between sheets of parchment and freeze for up to 3 months. Thaw overnight in the refrigerator before bringing to room temperature to avoid condensation. Use rigid tins for transporting to maintain shape and protect delicate piping.
Ingredient Substitutions
For dairy-free options, substitute plant-based butter sticks (1:1) that are formulated for baking, though flavor and texture may be slightly different. To make egg-free dough, replace each egg with 1/4 cup applesauce and add 1/2 teaspoon more baking powder for structure — note cookies will be softer. If you need gluten-free, use a 1:1 gluten-free flour blend with xanthan gum and reduce rolling pressure to avoid cracking.

Serving Suggestions
Serve on a festive platter with a mix of plain and decorated cookies for contrast. Pair with spiced hot chocolate, mulled cider, or black tea to offset the sweetness. For gifting, stack in small boxes with tissue paper and a sprig of rosemary or a cinnamon stick. Garnishes like edible gold dust or finely crushed candy canes add seasonal charm and a burst of contrasting texture.
Cultural Background
Cutout cookies and royal-style icing have roots in European holiday traditions, where detailed sugar work and cookie exchanges were a focal point of winter celebrations. Variations across regions include different spice profiles and decorative styles; the use of meringue powder for a stable icing is a modern adaptation that keeps the tradition accessible while meeting food safety needs.
Seasonal Adaptations
In winter, emphasize citrus zest and peppermint décor for brightness. For a summer fête, skip spice and add lemon zest and pastel colors. Swap gel hues for autumnal tones in November or create Valentine motifs with pinks and reds. The base dough is adaptable: a touch of ground cardamom or cinnamon can transform the flavor profile to suit any holiday.
Success Stories
One year I hosted a cookie swap where each guest brought a dozen of these; folks raved that the edges stayed crisp while the centers remained soft — a rare combination. Another memory: my niece meticulously outlined 50 tiny stars and insisted the plate go to her teacher; the teacher emailed later saying the whole staff loved them. Those moments are why I make this dough year after year.
Meal Prep Tips
Prepare dough up to 48 hours ahead and keep wrapped in the refrigerator, or freeze flattened discs for up to 3 months. Thaw overnight in the fridge before rolling. Pre-mix the uncolored icing base and store in an airtight container; thin and color when ready to decorate. For busy mornings, pre-cut shapes and keep them on trays, chilled and ready to bake.
These cookies are a joyful blend of practicality and whimsy — sturdy enough for piping, tender enough to enjoy plain, and flexible enough to adapt to any holiday imagination. Gather your cutters, invite helpers, and let a little sparkle into your kitchen this season.
Pro Tips
Use room-temperature butter and eggs: this ensures smooth creaming and consistent texture.
Chill cut cookies briefly before baking to preserve sharp shapes and prevent spreading.
Sift powdered sugar for the icing to avoid grainy texture and ensure a glossy finish.
This nourishing twisted christmas cookies recipe is sure to be a staple in your kitchen. Enjoy every moist, high protein slice — it is perfect for breakfast or as a wholesome snack any time.
FAQs about Recipes
Can I freeze the dough?
Yes — the unbaked dough can be wrapped tightly and frozen for up to 3 months. Thaw overnight in the refrigerator before rolling and cutting.
How long does the icing take to dry?
Let icing set for 4–6 hours for thin layers. Thicker piped designs may need overnight drying at room temperature.
Tags
Twisted Christmas Cookies
This Twisted Christmas Cookies recipe makes perfectly juicy, tender, and flavorful steak every time! Serve with potatoes and a side salad for an unforgettable dinner in under 30 minutes.
Ingredients
Cookie dough
Icing & decorations
Instructions
Preheat and prepare pans
Preheat your oven to 350°F (175°C). Line 2–3 baking sheets with parchment paper and position racks in the middle third of the oven for even heat.
Cream butter and sugar
In a large bowl or stand mixer fitted with a paddle, beat the softened butter and granulated sugar on medium speed for 3–4 minutes until pale and fluffy. Scrape the bowl to ensure even mixing.
Add eggs and flavorings
Add eggs one at a time, mixing until incorporated, then stir in vanilla, almond extract, and orange zest. Mix only until combined to avoid excess air.
Combine with flour
Gradually add the all-purpose flour and mix on low until a firm dough forms. If the dough is too dry, add up to 1 tablespoon milk to bring it together.
Roll, cut, and chill
Roll the dough to 1/4-inch thickness on a lightly floured surface. Cut with cookie cutters and transfer to prepared sheets. Chill on the tray for 10–15 minutes before baking.
Bake and cool
Bake for 10–12 minutes until edges are just golden. Cool on the tray briefly, then transfer to wire racks to cool completely before decorating.
Prepare meringue icing
Whisk meringue powder with lemon juice and water until frothy. Add sifted powdered sugar gradually and beat until glossy. Adjust thickness with extra water for piping or flooding.
Color and decorate
Divide icing into bowls, tint with gel colors, and pipe or flood cookies as desired. Add sprinkles or crushed candy while the icing is wet, then allow to set fully.
Last Step: Please leave a rating and comment letting us know how you liked this recipe! This helps our business to thrive and continue providing free, high-quality recipes for you.
Nutrition
Did You Make This?
Leave a comment & rating below or tag
@mrsrecipe on social media!
Categories:
You might also like...

5-Minute Thanksgiving Appetizers That Wow Every Guest
Tiny crostini topped with creamy cheese, bright cranberry, crunchy pecans and rosemary — an effortless 5-minute starter that looks festive and tastes like the holidays.

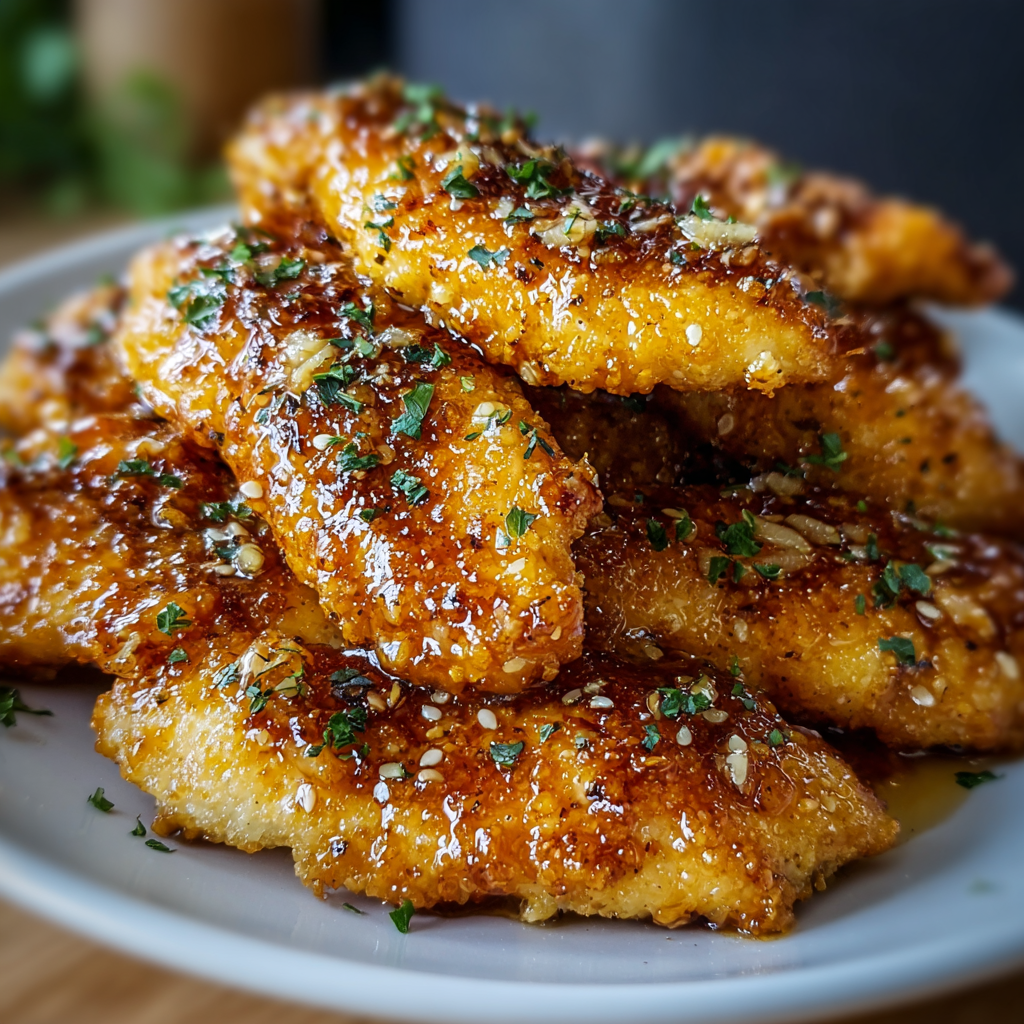
African-Style Pancakes (Fluffy, Comforting, and Easy)
Light, slightly spiced pancakes inspired by African home kitchens—fluffy, buttery, and perfect for breakfast or brunch with syrup, cinnamon sugar, or a savory filling.
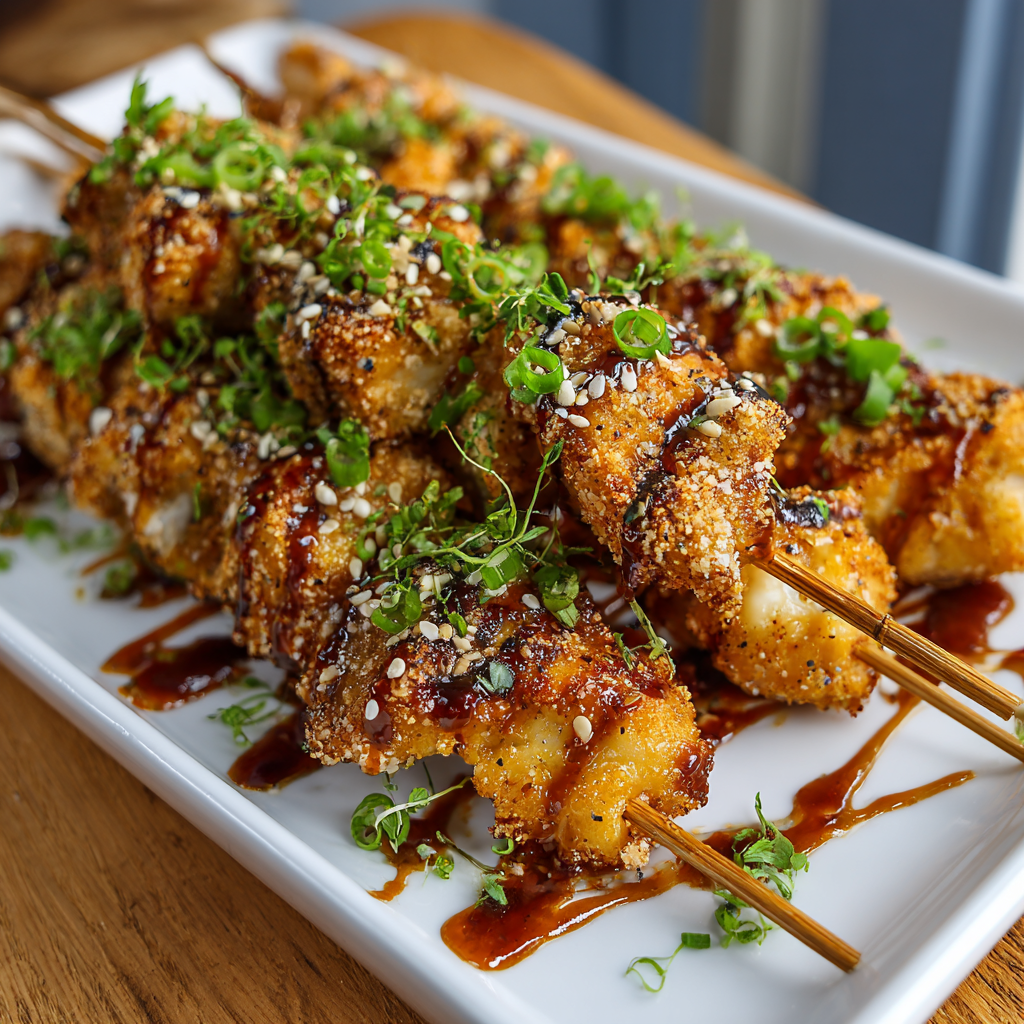
Air Fryer Bang Bang Chicken Skewers
Crispy, saucy chicken skewers made in the air fryer with a sweet-spicy bang bang sauce—perfect for weeknight dinners, parties, or meal prep.
Did You Make This?
Leave a comment & rating below or tag @mrsrecipe on social media!
Rate This Recipe
Share This Recipe
Enjoyed this recipe? Share it with friends and family, and don't forget to leave a review!
Comments (1)
This recipe looks amazing! Can't wait to try it.
Comments are stored locally in your browser. Server comments are displayed alongside your local comments.
Hi, I'm Clara!
What's Popular
Get My 30-Minute Meals email series!
Quick and easy dinner ideas delivered to your inbox.