>>
30-MINUTE MEALS! Get the email series now →


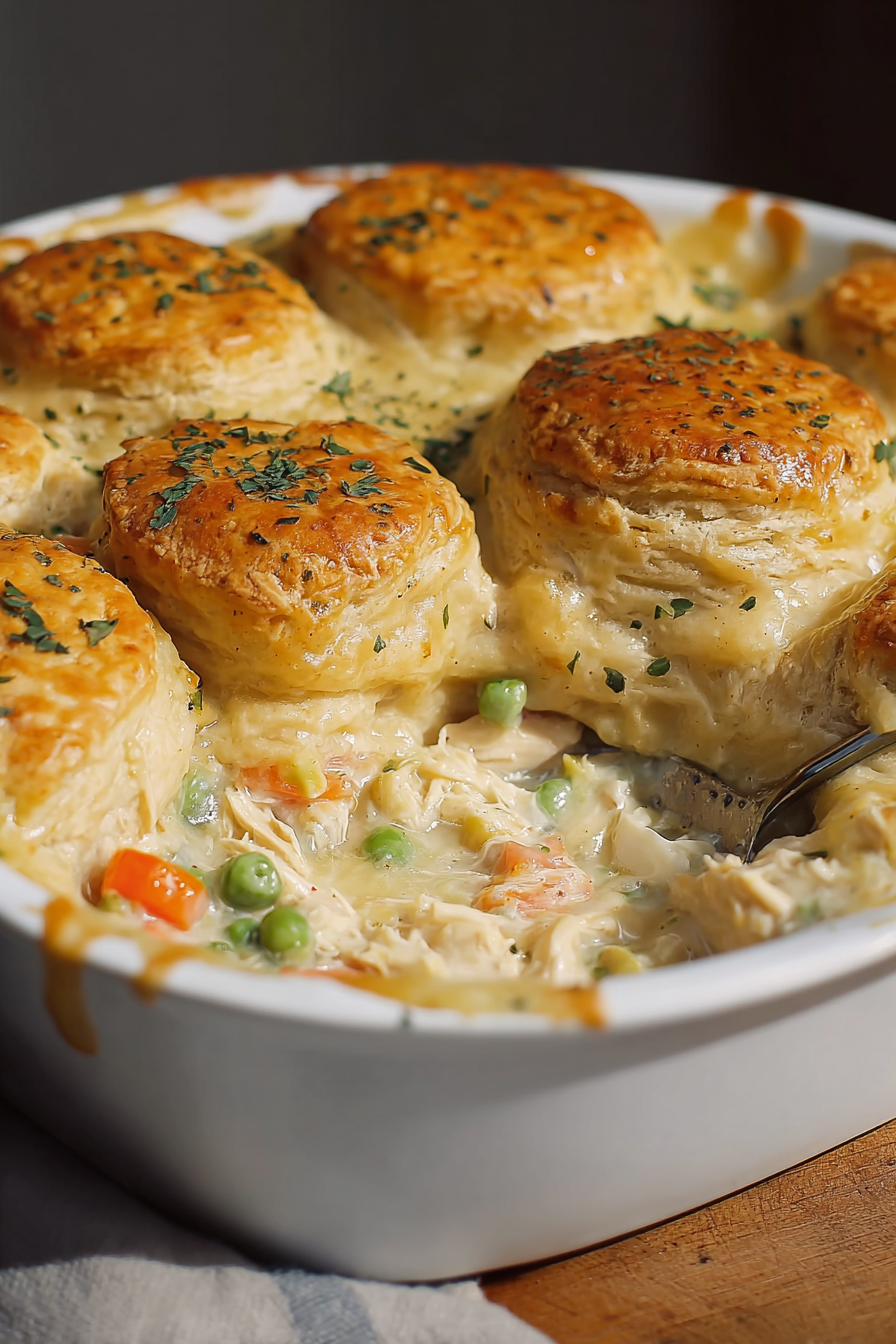
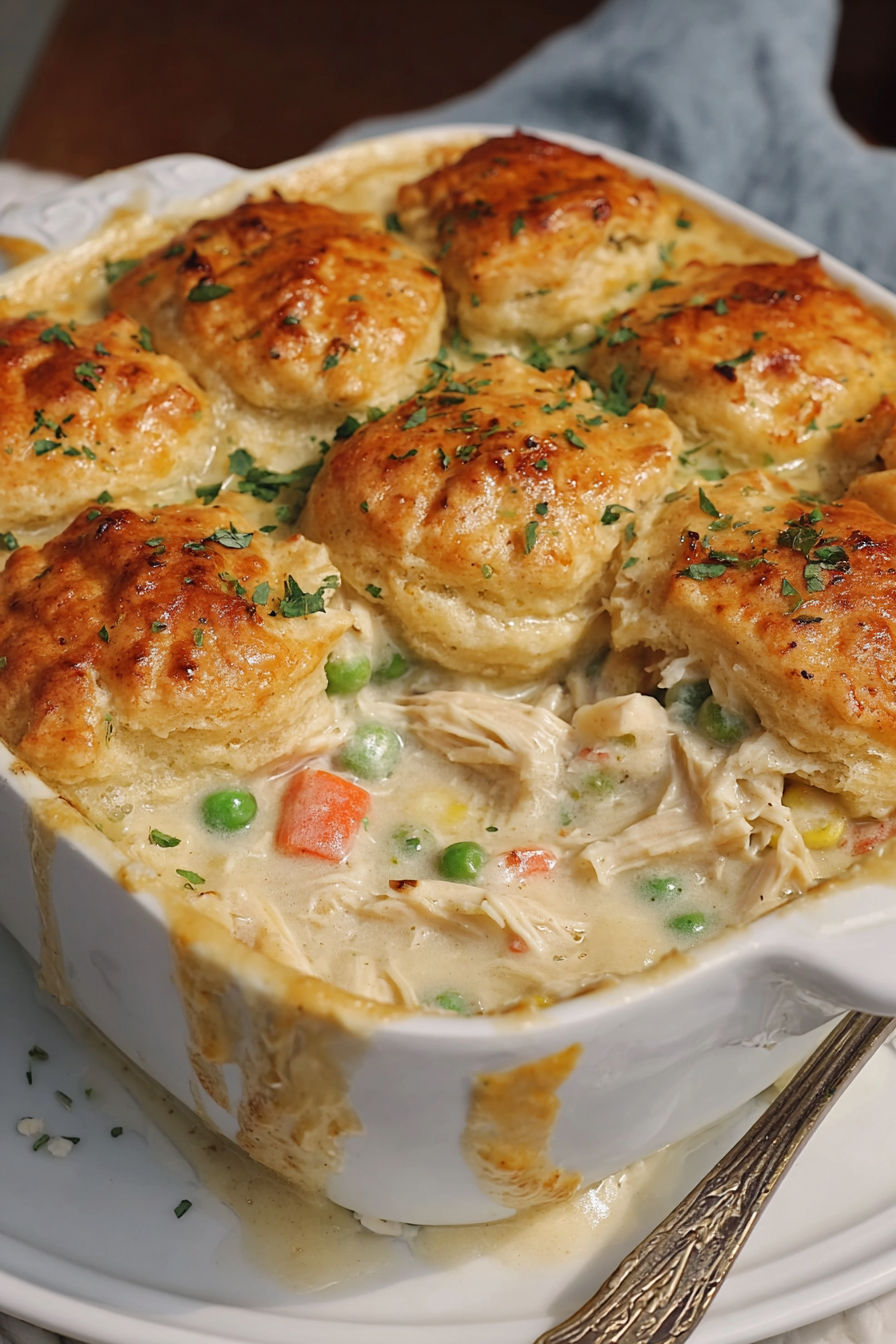
A cozy, family-friendly casserole that combines tender chicken and garden veggies in a creamy gravy, topped with flaky biscuit rounds for a quick comforting dinner.
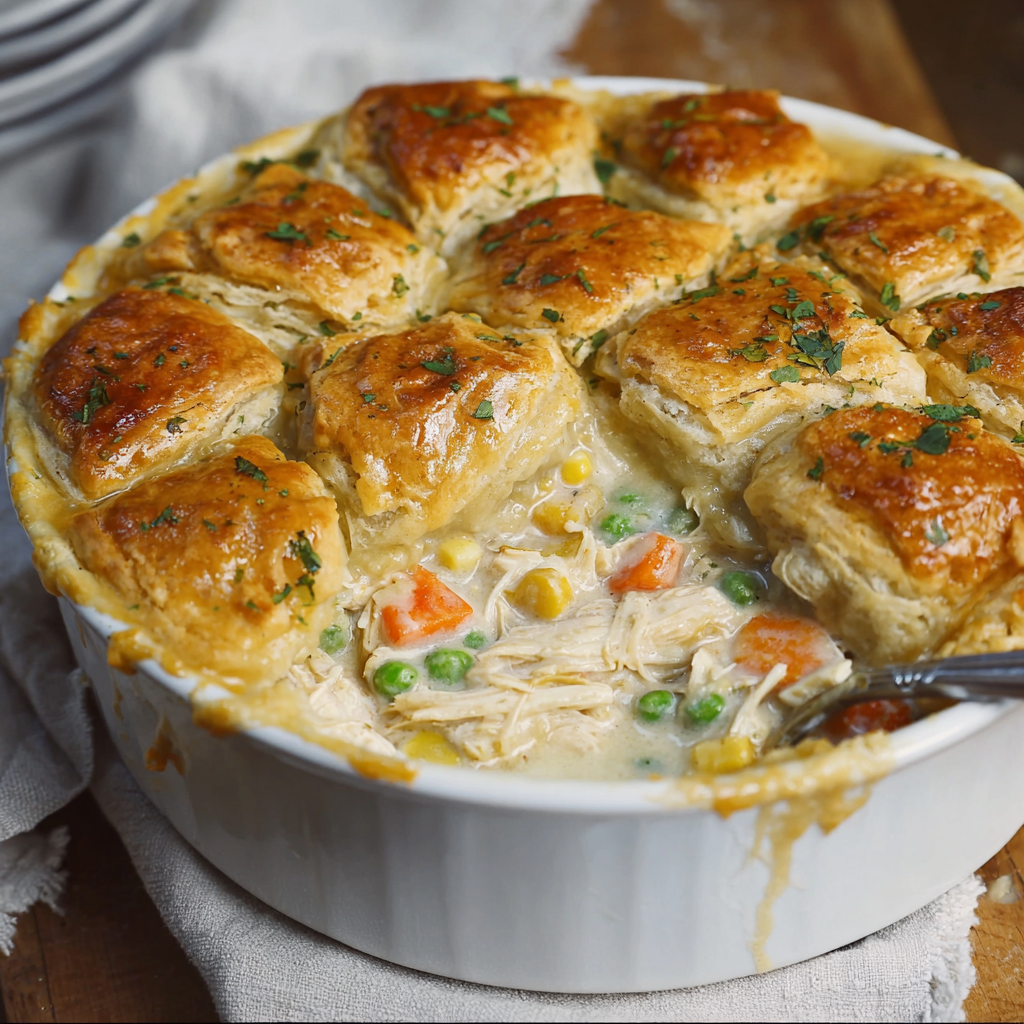
This Easy Homemade Chicken Pot Pie Casserole has been the quickest way to turn a busy weeknight into a warm family memory. I first developed this version after a late grocery run and a rotisserie chicken rescue; the biscuits on top were a last-minute idea and became the part my kids announced as the best section on the plate. It’s a dish that tastes like home: creamy, savory filling with pockets of vegetables and a golden, fluffy biscuit topping that soaks up just enough gravy without getting soggy.
I discovered how versatile the base is when I started swapping in seasonal vegetables and different leftover proteins. The texture is comfortingly familiar — a silky, lightly thickened sauce studded with tender chunks of chicken and sweet peas and carrots, finished with buttery biscuit crowns. Every bite balances richness and simplicity, and because it uses pantry and freezer staples, it’s one of those recipes I rely on when time is tight but I still want a from-scratch feel.
My kids always crowd the kitchen when the oven timer dings; they know the buttery aroma means the biscuits are turning golden. Neighbors and friends have asked for the “recipe,” and it’s become my go-to comfort option when I want something nostalgic without fuss.
My favorite part is watching the biscuits balloon and form little golden domes while the kitchen fills with that buttery, roasted aroma — it always draws family members from wherever they are. One time I doubled the veggies and served it at a potluck, and the dish vanished before I could get a second helping; that’s when I knew this version had staying power.
Cool uncovered at room temperature for no more than two hours, then cover tightly. Refrigerate in shallow airtight containers for up to three days. To freeze, let the casserole cool completely, wrap the baking dish in two layers of foil or transfer portions to freezer-safe containers, and freeze up to three months. To reheat a whole casserole from frozen, thaw overnight and bake at 350°F (175°C) until heated through, about 25–35 minutes; for portions, reheat in a 350°F oven for 15–20 minutes covered, uncovering for the last five minutes to refresh the biscuit surface.
Swaps are straightforward: use leftover turkey or shredded ham in place of chicken. For a dairy-free version, replace butter with a vegan spread and use unsweetened plant milk (soy or oat) plus a dairy-free biscuit dough. Swap all-purpose flour with a 1:1 gluten-free flour blend to make it gluten-free, and choose gluten-free biscuit dough. To increase vegetables, add chopped mushrooms, diced potatoes (parboil first), or green beans; if you increase starchy vegetables, add a splash more broth to keep the sauce flowing.
Serve this casserole with a bright side to cut the richness: a crisp tossed salad with lemon vinaigrette or steamed green beans tossed with a squeeze of lemon. For a heartier meal, pair with roasted root vegetables and a crunchy slaw. Garnish with chopped parsley or chives for color, and offer hot sauce or a grainy mustard on the side to provide contrast to the creamy filling.
The pot pie concept has deep roots in American home cooking, combining the British pie tradition with local ingredients and convenience shortcuts. This layered casserole is a modern spin that echoes classic country kitchens where biscuits were used as a topping for stews and cobblers. The format — savory filling beneath a quick bread top — became popular in the 20th century as canned and refrigerated convenience foods entered the home pantry, allowing busy families to produce comforting meals quickly.
In summer, fresh corn and peas add bright sweetness; in fall swap in diced butternut squash and Brussels sprouts for deeper flavors. For winter holidays, use roasted turkey and add thyme and a splash of sherry to the gravy. Lighten the dish in spring by increasing spring peas and lemon zest in the salad served alongside, refreshing the overall meal.
Assemble the filling a day ahead and refrigerate in the baking dish. When ready to serve, top with biscuits and bake from chilled — add 5–10 minutes to the bake time. For single-serve meal prep, portion into individual oven-safe dishes, top with a biscuit, and freeze. Thaw overnight and bake until warm. Label containers with dates and reheat in the oven to keep texture intact.
There's a warm satisfaction in turning simple ingredients into a dish that feels celebratory. Whether you're feeding family after soccer practice or bringing a pan to share, this casserole is designed to be easy to make and hard to forget.
Whisk the flour into melted butter and cook 1–2 minutes to remove raw flour taste before adding liquids.
Flatten biscuits slightly so they bake evenly and form a cohesive top without leaving raw centers.
If gravy thickens too much while cooling, whisk in 1–2 tablespoons of warm broth to loosen before serving.
Tent loosely with foil if biscuit tops brown before the filling bubbles to prevent over-browning.
This nourishing easy homemade chicken pot pie casserole recipe is sure to be a staple in your kitchen. Enjoy every moist, high protein slice — it is perfect for breakfast or as a wholesome snack any time.
Yes. Assemble the casserole, cover, and refrigerate up to 24 hours. Add a few extra minutes to the bake time if baking from chilled.
Store leftovers in an airtight container for up to 3 days; freeze up to 3 months. Reheat in a 350°F oven for best texture.
This Easy Homemade Chicken Pot Pie Casserole recipe makes perfectly juicy, tender, and flavorful steak every time! Serve with potatoes and a side salad for an unforgettable dinner in under 30 minutes.
Preheat oven to 375°F (190°C) and position a rack in the center so biscuits bake evenly and filling cooks through.
Melt 1/3 cup butter in a large skillet over medium heat. Add 1/3 cup flour and seasonings, stirring constantly for 1–2 minutes until bubbly and slightly golden.
Whisk in 1 3/4 cups chicken broth and 2/3 cup milk slowly. Continue stirring until the mixture thickens and comes to a gentle boil, about 3–5 minutes.
Remove from heat and stir in 3 cups cooked chicken, 1 cup frozen peas and carrots, and 1/2 cup corn if using. Mix until evenly combined and season to taste.
Transfer the chicken mixture to a greased 9x13-inch baking dish and spread it evenly to ensure consistent portions.
Separate biscuits from the can, flatten slightly, and arrange on top of the filling, leaving small gaps for expansion.
Bake for 25–30 minutes until biscuits are golden and the filling bubbles. Tent with foil if the topping browns too quickly.
Allow the dish to rest 5 minutes before serving to let the filling set and make serving cleaner and safer.
Last Step: Please leave a rating and comment letting us know how you liked this recipe! This helps our business to thrive and continue providing free, high-quality recipes for you.
Leave a comment & rating below or tag
@mrsrecipe on social media!

Tiny crostini topped with creamy cheese, bright cranberry, crunchy pecans and rosemary — an effortless 5-minute starter that looks festive and tastes like the holidays.

Light, slightly spiced pancakes inspired by African home kitchens—fluffy, buttery, and perfect for breakfast or brunch with syrup, cinnamon sugar, or a savory filling.

Crispy, saucy chicken skewers made in the air fryer with a sweet-spicy bang bang sauce—perfect for weeknight dinners, parties, or meal prep.
Leave a comment & rating below or tag @mrsrecipe on social media!
Enjoyed this recipe? Share it with friends and family, and don't forget to leave a review!
This recipe looks amazing! Can't wait to try it.
Comments are stored locally in your browser. Server comments are displayed alongside your local comments.
Quick and easy dinner ideas delivered to your inbox.