
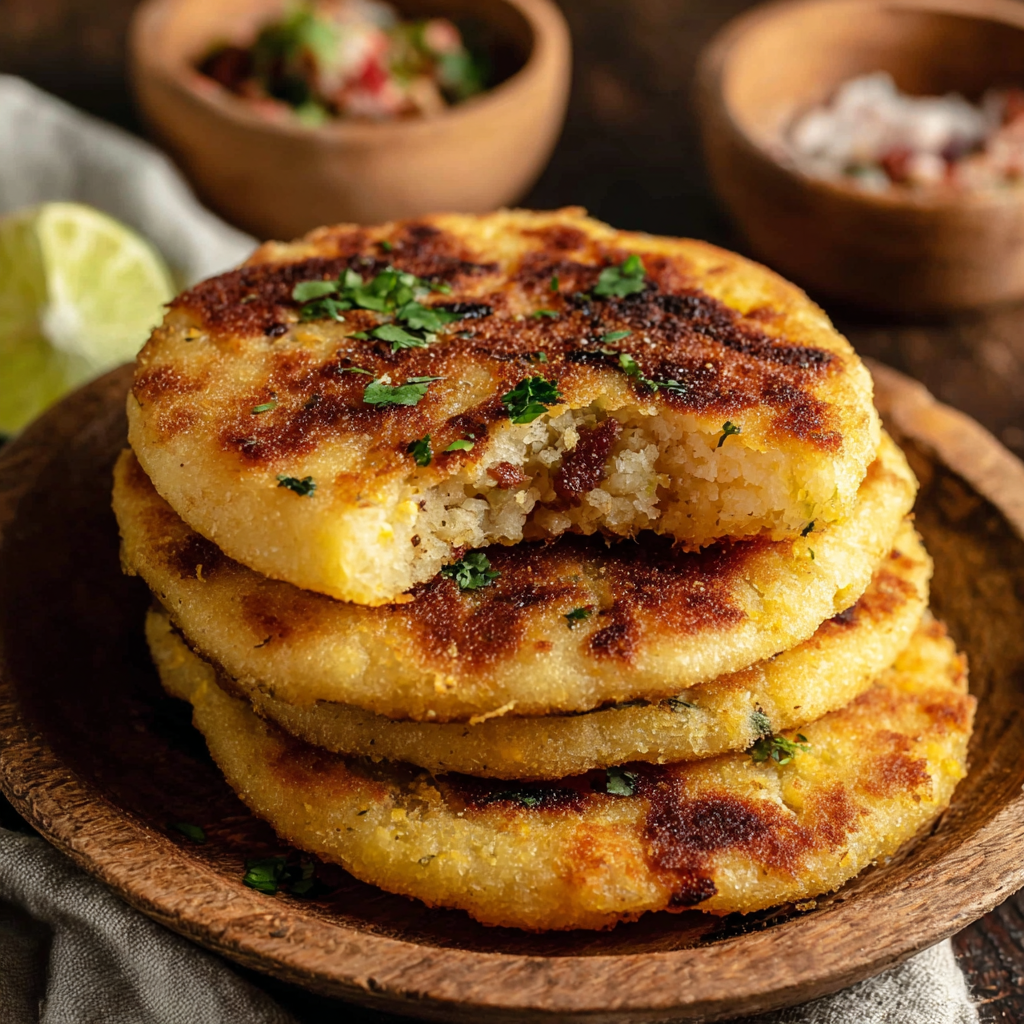
Crispy Maseca Gorditas

Golden, blistered masa pockets with a tender interior — perfect split and stuffed with beans, cheese, shredded beef, or roasted vegetables for a comforting, hands-on meal.
Why You'll Love This Recipe
- Simple pantry base of masa harina and hot water yields an authentic corn flavor with a tender interior and crisp exterior when fried correctly.
- Ready in about 40 to 50 minutes from start to finish, including a short resting period, so it is approachable for busy evenings or lazy mornings.
- Customizable fillings let you adapt to what you have on hand: shredded beef, refried beans, melting cheese, or roasted vegetables all work beautifully.
- Uses common kitchen tools and neutral frying oil, so you do not need special equipment to get excellent results.
- Make-ahead options: dough can be kept briefly in the fridge and cooked later, and cooked gorditas freeze well for quick reheating.
- Crowd-pleasing: serve a platter and let everyone fill their own — perfect for casual family dinners or brunch gatherings.
I find these especially satisfying on chilly mornings when the kitchen fills with warm corn aroma. My partner always insists on extra shredded beef and a little pickled onion on top, and our kids love them with just refried beans and cheese. The technique is simple enough to teach, and once you nail the dough texture you will get consistent results every time.
Ingredients
- Masa harina (Maseca): Use a reputable brand such as Maseca for consistent texture and flavor. Look for the fine, dry corn flour labeled "masa harina." It provides that authentic corn taste and binds when hydrated with hot water.
- Hot water: Boiling water is used to hydrate the masa. I measure 1 1/2 cups for 2 cups of masa but keep up to 3 cups boiled and available to adjust dough consistency. The hot water makes the dough pliable and helps the masa bloom.
- Vegetable oil (optional in dough): One tablespoon of neutral vegetable or canola oil in the dough yields a slightly softer finished interior and helps with handling, but it is optional.
- Frying oil: About 1 to 1 1/2 cups neutral oil for shallow frying. Use canola or vegetable oil with a high smoke point so the gorditas crisp without imparting strong flavor.
- Fillings (optional): Shredded cooked beef, refried beans, melting cheese like Oaxaca or Monterey Jack, or roasted vegetables. These additions turn the cooked pockets into a full meal.
Instructions
Prepare the dough: Boil about 3 cups of water and measure 1 1/2 cups hot water into a mixing bowl with 2 cups masa harina. Add 1 tablespoon vegetable oil if using. Mix by hand until the dough comes together and feels like smooth peanut butter. If the dough crumbles, add a teaspoon of hot water at a time; if it feels sticky, dust with a little more masa. The dough should hold together without cracking. Rest and adjust: Cover the dough with a damp towel and let it rest for 5 minutes to allow the masa to fully hydrate. Resting lets the starches absorb moisture so the texture becomes tender rather than chalky. After resting, knead briefly and add a teaspoon of water if the dough shows dry spots. Shape the disks: Divide the dough into 6 to 8 equal balls. Press each ball into a saucer-shaped disk about 1/4 inch thick, keeping the center slightly thicker than the edges if you want more interior softness. Use a small plate or a tortilla press lined with plastic wrap, and ensure even thickness so they cook uniformly. Heat the skillet: Heat a heavy skillet over medium-high heat and add neutral oil to cover the base to about 1/8 inch. The oil should shimmer but not smoke; test with a small scrap of dough — it should sizzle immediately. Controlling the oil temperature is key to crisping without burning. Fry on medium-high: Place disks in the hot oil and fry approximately 3 minutes per side until golden and blistered. Use a spatula to flip gently so they keep their shape. The initial sear creates the blistered, crisp exterior. Lower heat and finish: Reduce heat to low and continue cooking 7 to 9 minutes per side so the interior cooks through without burning the exterior. Keep the skillet covered loosely if you want slightly more steam to cook the center; uncovered will keep them crisper. Finished pockets should feel firm and cooked all the way through. Split and fill: Let gorditas rest briefly on a wire rack so excess oil drains, then slice open with a sharp knife or kitchen shears and stuff with your fillings. Serve warm so cheese melts and flavors meld. Enjoy immediately for the best contrast of textures.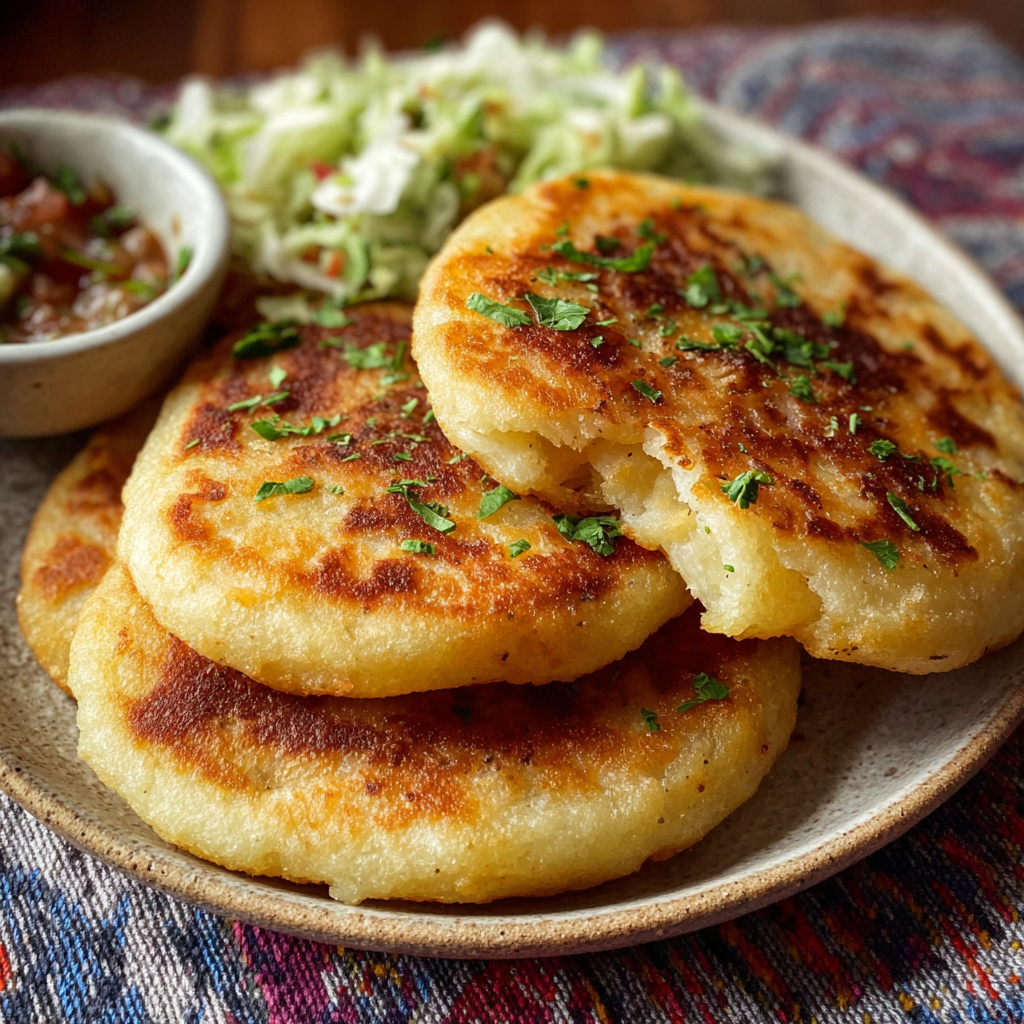
You Must Know
- These pockets are naturally gluten-free because they are made from corn masa harina; confirm the masa brand is certified gluten-free if needed.
- Store cooked items in an airtight container in the refrigerator for up to 3 days, or freeze individually wrapped for up to 3 months.
- Low and slow finishing prevents a raw interior while preserving a crisp exterior; do not rush the final stage over high heat.
- If you add cheese, fill while the gordita is hot so the cheese melts and binds the filling.
My favorite aspect is how forgiving the dough is once you understand the ideal texture. The first batch may be trial and error, but after one or two attempts you will know the look and feel of the perfect dough ball. Family members always crowd the kitchen when these come out; there is something very communal about filling them at the table and sharing little tips on favorite combinations.
Storage Tips
To store cooked pockets, cool them to room temperature on a wire rack to prevent sogginess, then place in an airtight container and refrigerate for up to 3 days. For longer storage, wrap individually in plastic wrap and place in a freezer bag; they keep well for up to 3 months. Reheat from frozen in a 350°F oven for 12 to 15 minutes wrapped in foil, or crisp in a skillet over medium heat for 3 to 5 minutes per side. Avoid microwaving straight from frozen, as this will make them soft and rubbery.
Ingredient Substitutions
If you do not have Maseca, any labeled masa harina intended for corn tortillas will work, but brands differ slightly in texture. For a little extra flavor in the dough, replace 1 tablespoon of the hot water with warm stock, or add 1 tablespoon of lard instead of vegetable oil for a richer mouthfeel. For vegan or dairy-free fillings, use refried beans and roasted vegetables; for a protein boost, add shredded chicken or slow-cooked barbacoa. Keep the water to masa ratio similar when making substitutions to maintain dough consistency.
Serving Suggestions
Serve warm with a variety of fillings on a platter so guests can assemble their own. Classic combinations include refried beans and Oaxaca cheese, shredded beef with pickled red onion, or roasted poblano peppers with queso fresco. Garnish with chopped cilantro, crumbled cotija, lime wedges, and a drizzle of salsa verde or roja. These are wonderful for breakfast with scrambled eggs and avocado or as part of a casual dinner with a simple salad and chips.

Cultural Background
Gorditas are a beloved staple across Mexico, with variations by region. The name means "little fatties" referring to the plump shape of the doughy pockets. In central Mexico, they are often split and stuffed with meats and salsas; in northern regions, they may be thinner and crispier. Corn masa has been central to Mexican cooking for centuries, and these pockets are a rustic example of how simple ingredients are transformed into a satisfying meal that carries generational memories and regional twists.
Seasonal Adaptations
Adjust fillings to match the season: in summer, fill with grilled vegetables, fresh corn, and crumbled queso fresco; in fall and winter, use slow-cooked beef, braised pork, or roasted squash. For holiday gatherings, serve a variety platter with seasonal salsas such as roasted tomatillo or pumpkin-spiced mole to create a festive feel. The versatile dough pairs well with seasonal produce and preserves.
Meal Prep Tips
Prepare the dough in the morning and keep it covered in the refrigerator for up to 24 hours; bring to room temperature and re-knead before shaping. Cooked pockets can be made ahead and stored in the refrigerator, then reheated in a skillet to restore crispness. For an efficient assembly line, shape all disks, then fry in batches. Keep finished pockets on a wire rack in a warm oven set to 200°F while you finish the rest so they stay crisp.
These crispy Maseca pockets are a joy to make and share. They bring together simple technique, comforting flavors, and the pleasure of filling and eating together. Try a batch this weekend and experiment with your favorite fillings — I promise it will become a staple in your kitchen.
Pro Tips
Rest the dough for at least 5 minutes so the masa fully hydrates; this prevents a chalky interior.
Test oil temperature with a small scrap of dough; it should sizzle immediately but not smoke.
Finish cooking on low heat so the interior cooks through without burning the exterior.
Press disks to even thickness about 1/4 inch to ensure uniform cooking.
Cool on a wire rack after frying to avoid sogginess from trapped steam.
This nourishing crispy maseca gorditas recipe is sure to be a staple in your kitchen. Enjoy every moist, high protein slice — it is perfect for breakfast or as a wholesome snack any time.
Tags
Crispy Maseca Gorditas
This Crispy Maseca Gorditas recipe makes perfectly juicy, tender, and flavorful steak every time! Serve with potatoes and a side salad for an unforgettable dinner in under 30 minutes.
Ingredients
Dough
Frying
Fillings (optional)
Instructions
Prepare the dough
Boil about 3 cups of water and measure 1 1/2 cups hot water into a bowl with 2 cups masa harina. Add 1 tablespoon oil if using. Mix by hand until the dough resembles smooth peanut butter, adjusting with more masa or water as needed.
Rest and adjust
Cover the dough with a damp towel and rest 5 minutes to fully hydrate. Knead briefly and add a teaspoon of water if the dough feels dry.
Shape the disks
Divide dough into 6 to 8 balls and press each into a saucer-shaped disk about 1/4 inch thick. Ensure even thickness so they cook uniformly.
Heat the skillet
Heat a heavy skillet over medium-high heat and add oil to cover the base about 1/8 inch. The oil should shimmer but not smoke; test with a small dough scrap to check sizzle.
Fry on medium-high
Place disks in the hot oil and fry 3 minutes per side until golden and blistered. Flip gently to maintain shape and avoid splatter.
Lower heat and finish
Reduce heat to low and continue cooking 7 to 9 minutes per side so the interior cooks through without burning the exterior. The finished piece should be firm and cooked all the way.
Split and fill
Let rest briefly then slice open and stuff with your chosen fillings. Serve warm so cheese melts and flavors meld.
Last Step: Please leave a rating and comment letting us know how you liked this recipe! This helps our business to thrive and continue providing free, high-quality recipes for you.
Nutrition
Did You Make This?
Leave a comment & rating below or tag
@mrsrecipe on social media!
Categories:
You might also like...

5-Minute Thanksgiving Appetizers That Wow Every Guest
Tiny crostini topped with creamy cheese, bright cranberry, crunchy pecans and rosemary — an effortless 5-minute starter that looks festive and tastes like the holidays.

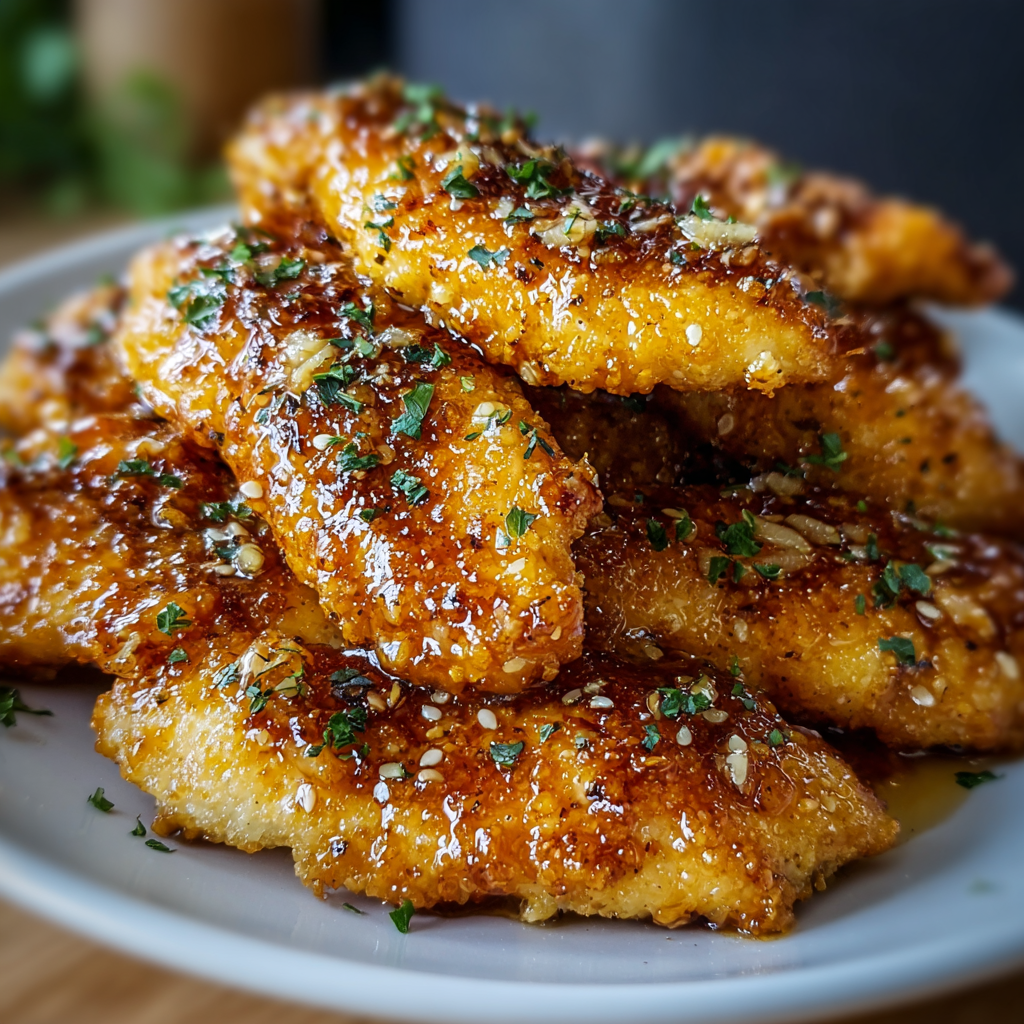
African-Style Pancakes (Fluffy, Comforting, and Easy)
Light, slightly spiced pancakes inspired by African home kitchens—fluffy, buttery, and perfect for breakfast or brunch with syrup, cinnamon sugar, or a savory filling.
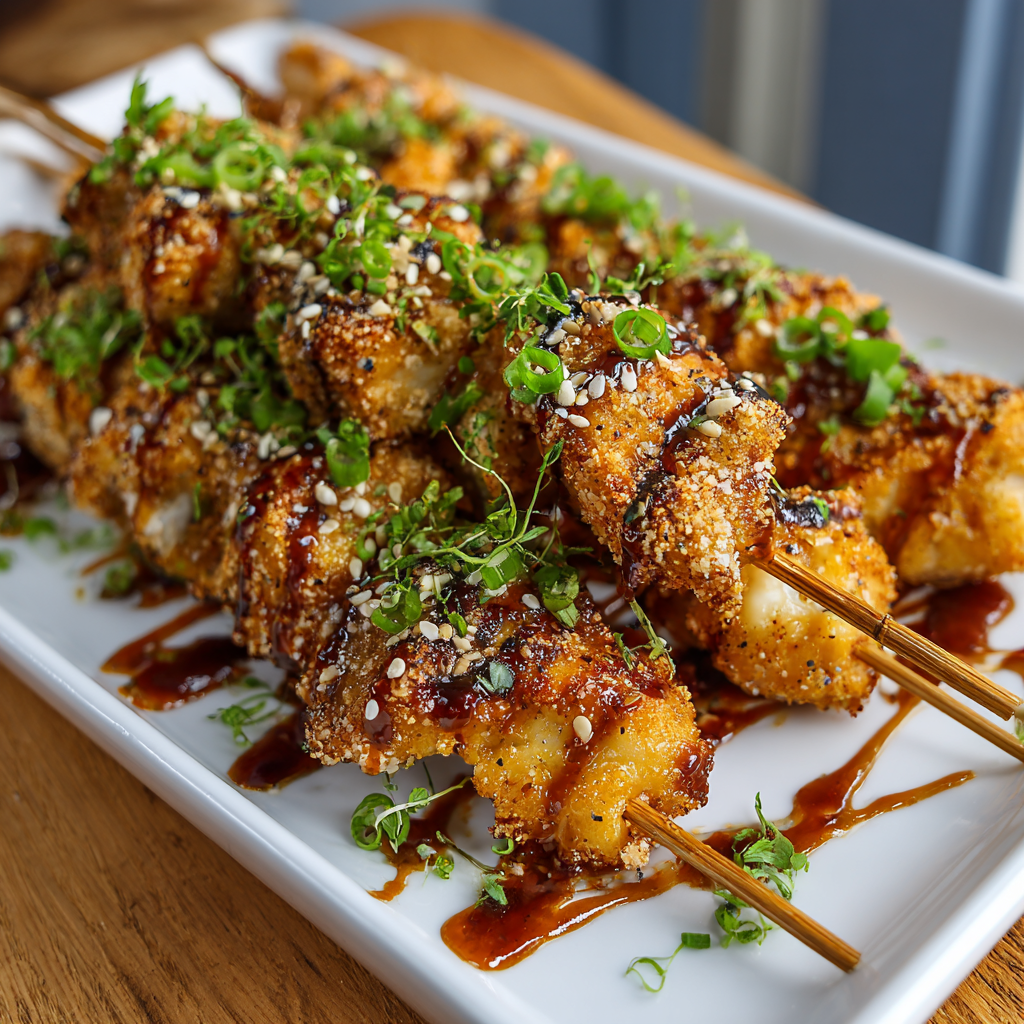
Air Fryer Bang Bang Chicken Skewers
Crispy, saucy chicken skewers made in the air fryer with a sweet-spicy bang bang sauce—perfect for weeknight dinners, parties, or meal prep.
Did You Make This?
Leave a comment & rating below or tag @mrsrecipe on social media!
Rate This Recipe
Share This Recipe
Enjoyed this recipe? Share it with friends and family, and don't forget to leave a review!
Comments (1)
This recipe looks amazing! Can't wait to try it.
Comments are stored locally in your browser. Server comments are displayed alongside your local comments.
Hi, I'm Clara!
What's Popular
Get My 30-Minute Meals email series!
Quick and easy dinner ideas delivered to your inbox.