>>
30-MINUTE MEALS! Get the email series now →


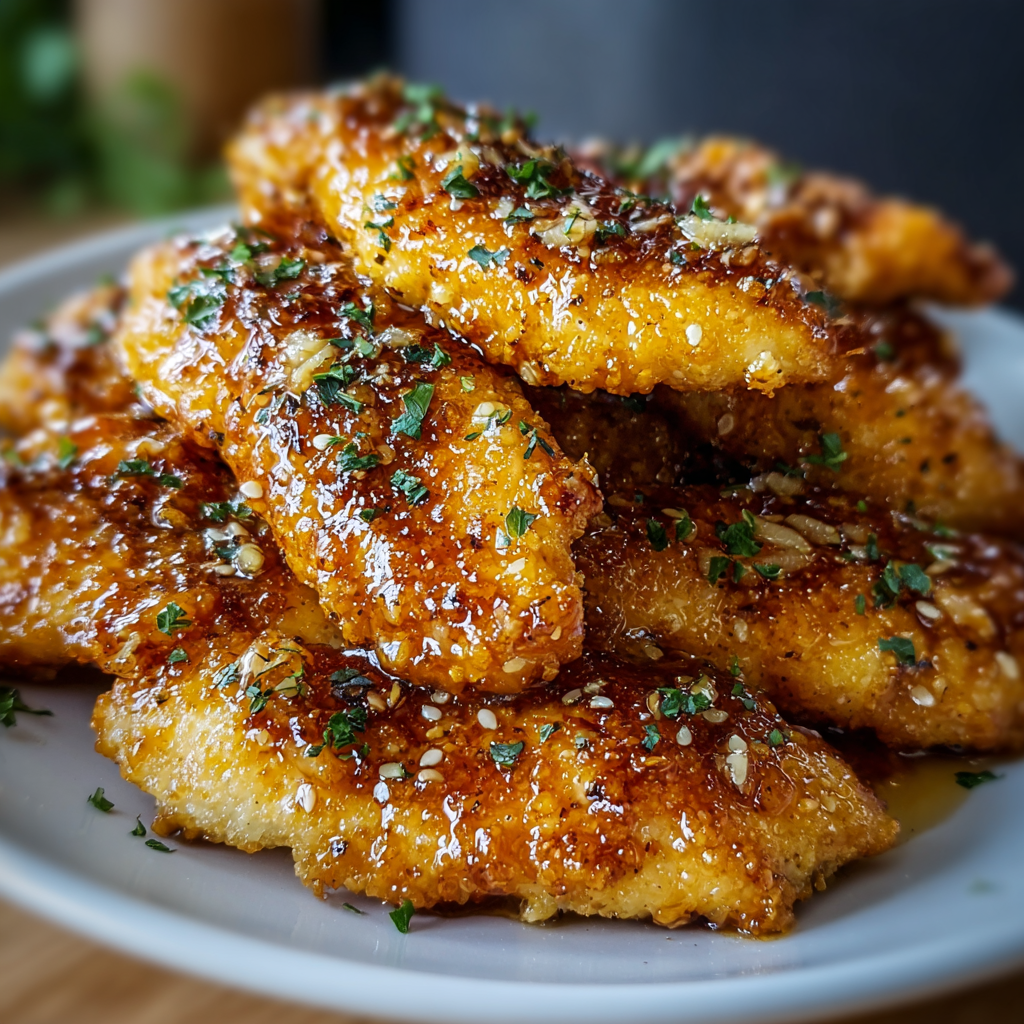
Bone-in, skin-on chicken thighs with a crunchy panko crust and a whisper of smoked paprika and thyme—comforting, easy, and perfect for family dinners.

This recipe for Crispy Irish Chicken Thighs began on a rainy evening when I wanted something comforting, golden, and reliably simple. I grew up with roasted chicken Sundays and discovered that using bone-in, skin-on thighs transformed dinner into something celebrated rather than routine. The first time I tried the buttermilk soak with a panko crust I remember the kitchen filling with a warm, herby scent and everyone claiming the crispiest skin was the best part. It’s a small ritual now: a short soak, a seasoned dredge, and a drizzle of melted butter before the oven—simple steps that add up to a plate of deeply satisfying crunch and juicy meat.
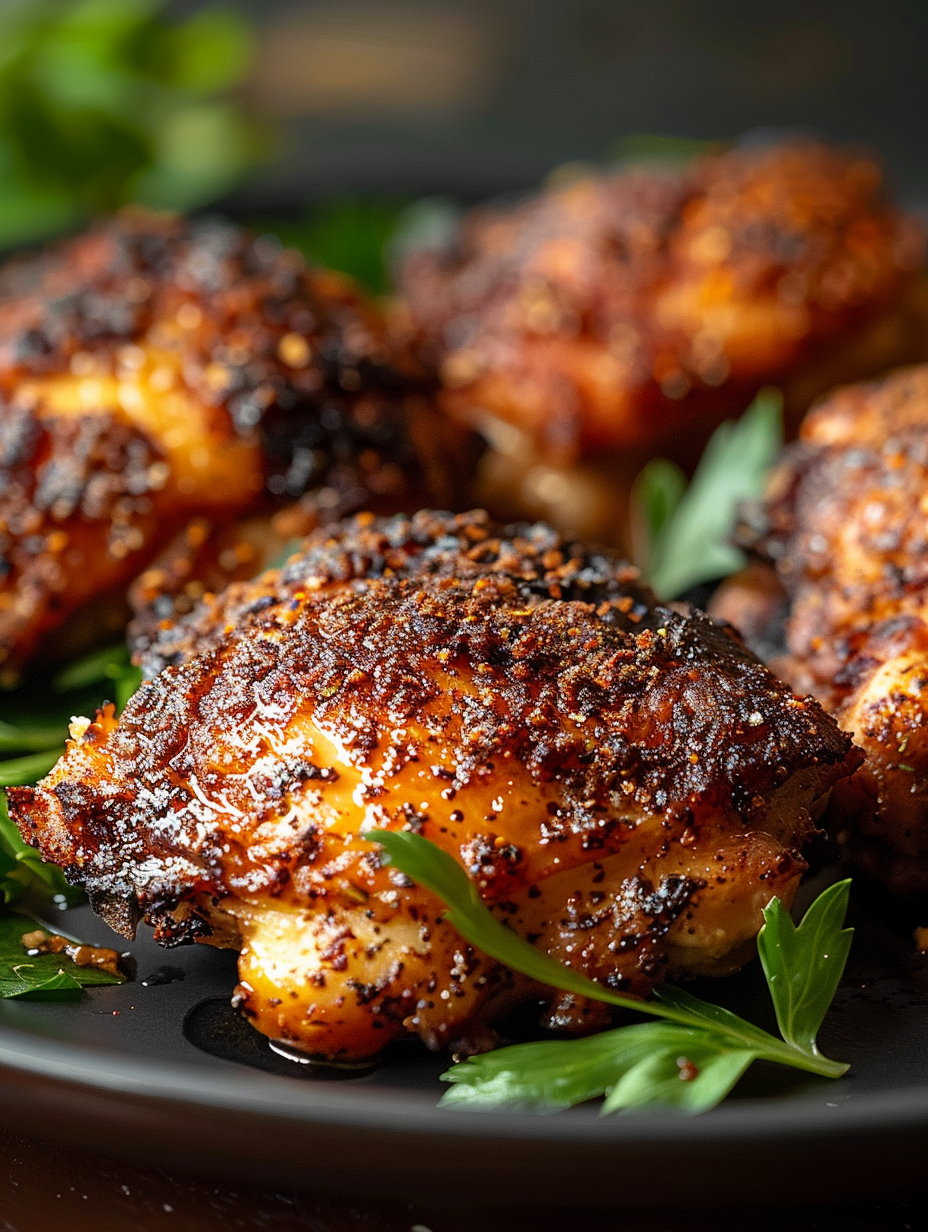
I favor thighs about 5–7 ounces each because they cook evenly, leaving the dark meat tender while the skin turns lacquered and crisp. The buttermilk does subtle work: it tenderizes the flesh and gives the coating something to cling to, creating a contrast between a moist interior and an airy, crunchy crust. Smoked paprika and thyme give the crust a gentle Irish-inspired warmth without leaning on heavy spice. This is a dish that has become a go-to for weeknight family dinners and a relaxed weekend supper when I want comfort with a little flair.
My family reaction the first time was immediate: delighted silence followed by requests for seconds. I discovered a few technique tweaks—patting the thighs very dry, shaking off excess buttermilk, and pressing the panko firmly onto the skin—that made the difference between good and unforgettable. Those small moments of discovery are why this preparation sticks in my rotation.
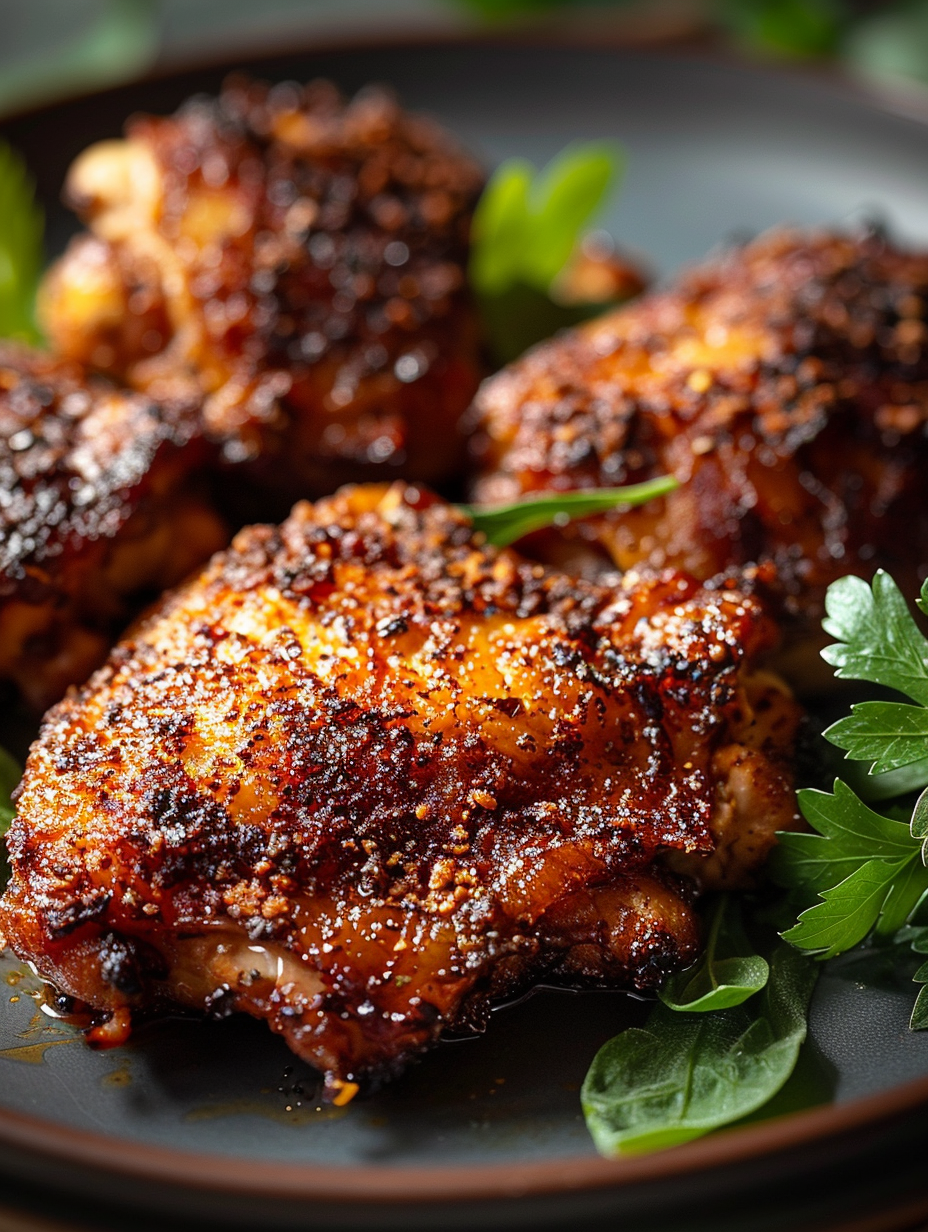
My favorite part is the contrast: the skin and crumb shatter gently when cut, revealing succulent meat beneath. One memorable Saturday I served these with garlic herb mashed potatoes and a simple cabbage slaw; the family fought over the juiciest pieces and complimented the crispness for days. Small technique changes—patting dry, firm pressing of the panko, and finishing under the broiler—made the biggest difference in repeat success, and now they’re the steps I never skip.
Cool the thighs completely before storing to prevent condensation from softening the crust. Refrigerate in a shallow airtight container with a paper towel between layers to absorb excess moisture; use within 3 days. For freezing, place cooled thighs on a baking sheet in a single layer and freeze until solid, then transfer to a labeled freezer bag for up to 3 months. Reheat from frozen by placing on a wire rack in a 375°F oven for 18–25 minutes, checking internal temperature to reach 165°F.
If you lack buttermilk, thin plain yogurt with 1 tablespoon of milk to reach a similar consistency and acidity. Replace panko with coarsely crushed cornflakes or coarsely ground crackers for a different crunch; the texture will be denser. For a gluten-free version, use certified gluten-free panko and a gluten-free flour blend in equal measure. Swap melted butter for extra-virgin olive oil to make the recipe dairy-free—expect slightly less golden color but still excellent flavor.
Serve these thighs alongside buttery mashed potatoes and braised cabbage for a traditional, cozy plate, or pair with a bright salad and lemony green beans to cut through the richness. Garnish with chopped parsley and a squeeze of lemon for freshness. They also work well shredded on top of warm grain bowls or tucked into soft rolls with coleslaw for an informal sandwich that highlights the crisp texture.
While not a historic Irish classic, this preparation nods to rustic Irish flavors—thyme, simple seasoning, and an emphasis on hearty, satisfying meat. Panko and buttermilk are modern additions that borrow technique from broader European and Japanese traditions, creating a hybrid method that celebrates tender meat and crisp exterior. The result is comfort food with a contemporary twist that fits well on modern Irish-inspired dinner tables.
In spring and summer, serve with a crisp herb salad and new potatoes to lighten the plate; add fresh chopped thyme and lemon zest to the panko for brightness. In autumn and winter, pair with roasted root vegetables and a cabbage mash—swap smoked paprika for a little ground allspice or caraway to echo seasonal flavors.
Coat the thighs and store them uncooked in the refrigerator for up to 24 hours; this makes busy weeknights simple—just bake and broil to finish. Alternatively, bake a double batch and freeze portions for quick dinners. When preparing ahead, keep sauces and fresh garnishes separate to maintain texture and brightness at serving.
These Crispy Irish Chicken Thighs are a reliable, adaptable dish that blends uncomplicated technique with maximum payoff—perfect for busy families and relaxed weekends alike. Try them once and you’ll find the small ritual of a good crust becomes part of your cooking rhythm.
Pat thighs completely dry before soaking to ensure the coating adheres and crisps properly.
Press panko firmly into the skin to create a durable crust that stays attached during baking and resting.
Use a wire rack on a rimmed sheet to allow air circulation and prevent soggy undersides.
Finish under the broiler for 2–4 minutes for extra color but watch closely to avoid burning.
Let the meat rest for 5 minutes after baking to allow juices to redistribute for a juicier result.
This nourishing crispy irish chicken thighs recipe is sure to be a staple in your kitchen. Enjoy every moist, high protein slice — it is perfect for breakfast or as a wholesome snack any time.
Yes—if you don’t have buttermilk, thin plain yogurt with 1 tablespoon of milk to reach a similar consistency and acidity.
Reheat in a 375°F oven on a wire rack for 10–12 minutes to restore crispness; avoid microwaving.
This Crispy Irish Chicken Thighs recipe makes perfectly juicy, tender, and flavorful steak every time! Serve with potatoes and a side salad for an unforgettable dinner in under 30 minutes.
Trim excess fat, pat thighs dry, season lightly, and place in a shallow dish. Pour 1 cup buttermilk over the thighs and refrigerate for 30 minutes to 2 hours to tenderize and help the coating adhere.
Combine 1 cup all-purpose flour, 1 teaspoon salt, 1 teaspoon black pepper, 1 teaspoon smoked paprika, 1 teaspoon dried thyme, and 1/2 teaspoon garlic powder in a shallow bowl. Place 1 1/2 cups panko in a second bowl.
Dredge each soaked thigh in the seasoned flour, shake off excess, then press into panko to create an even coating. Ensure the panko is pressed firmly onto the skin for best adhesion.
Preheat oven to 425°F. Arrange coated thighs skin-side up on a wire rack set over a rimmed baking sheet. Brush 2 tablespoons melted butter over the panko to encourage browning.
Bake at 425°F for 30–35 minutes until an instant-read thermometer reads 165°F. Optionally broil for 2–4 minutes to deepen color. Rest for 5 minutes before serving to allow juices to redistribute.
Last Step: Please leave a rating and comment letting us know how you liked this recipe! This helps our business to thrive and continue providing free, high-quality recipes for you.
Leave a comment & rating below or tag
@mrsrecipe on social media!

Tiny crostini topped with creamy cheese, bright cranberry, crunchy pecans and rosemary — an effortless 5-minute starter that looks festive and tastes like the holidays.

Light, slightly spiced pancakes inspired by African home kitchens—fluffy, buttery, and perfect for breakfast or brunch with syrup, cinnamon sugar, or a savory filling.
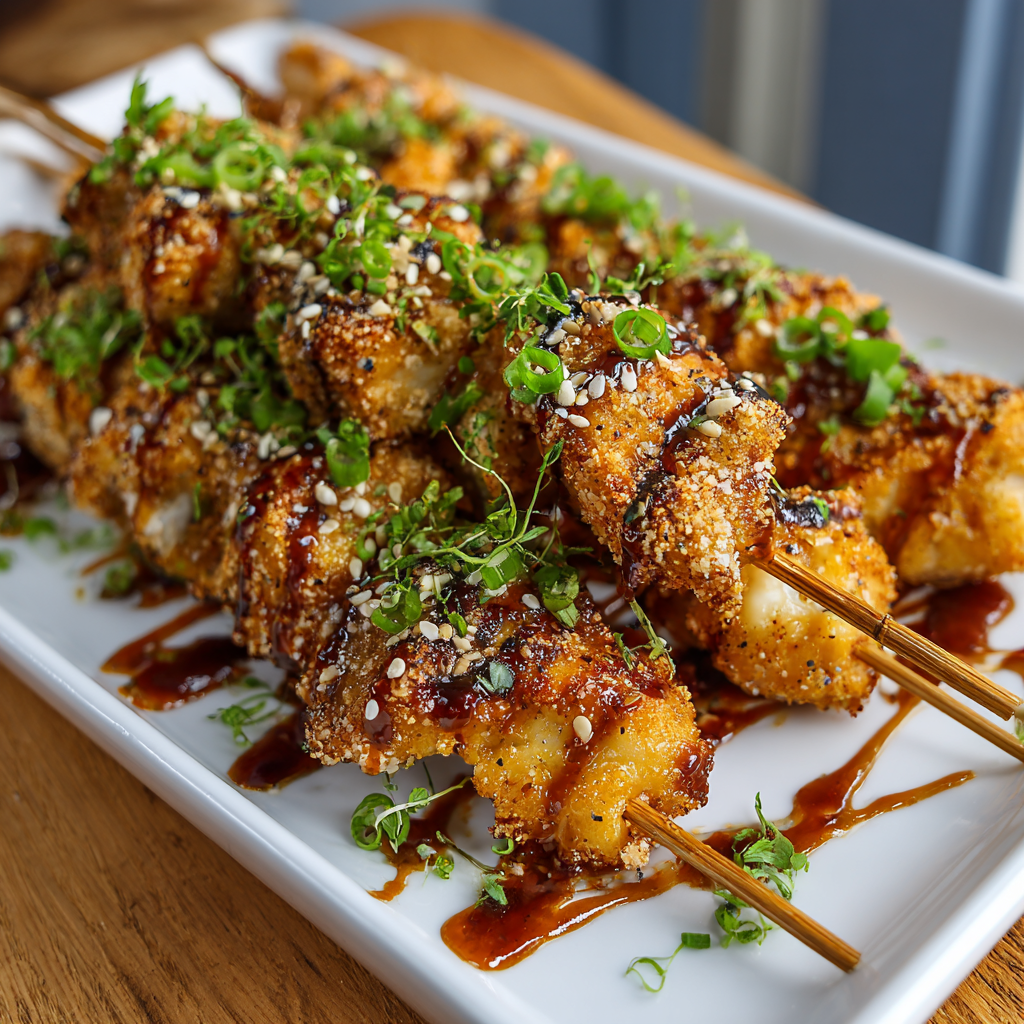
Crispy, saucy chicken skewers made in the air fryer with a sweet-spicy bang bang sauce—perfect for weeknight dinners, parties, or meal prep.
Leave a comment & rating below or tag @mrsrecipe on social media!
Enjoyed this recipe? Share it with friends and family, and don't forget to leave a review!
This recipe looks amazing! Can't wait to try it.
Comments are stored locally in your browser. Server comments are displayed alongside your local comments.
Quick and easy dinner ideas delivered to your inbox.