
Classic Cannoli Squares

A playful tray-bake take on the Italian favorite: crisp golden crust, creamy ricotta filling studded with chocolate, finished with pistachios and cherries.

Why You'll Love This Recipe
- This is a no-fuss adaptation of a classic: no frying, no molds — just two crusts and a luscious filling that comes together in one bowl.
- Ready in under an hour from start to finish — about 15 minutes active prep and 30–35 minutes baking — ideal for weeknight desserts or last-minute guests.
- Uses pantry staples: premade pie crusts, ricotta, powdered sugar, and chocolate chips — swap to homemade crusts if you prefer more hands-on baking.
- Makes 9 generous squares that travel well to picnics and potlucks; slices cleanly when cooled and chilled briefly, so presentation is easy.
- Versatile garnishes (pistachios, cherries, extra chips) let you dress up each square for holidays or keep them simple for everyday treats.
- Make-ahead friendly: assemble the day before, bake the day of, or bake in advance and finish with garnishes just before serving.
My family declared these a keeper after the first batch at that backyard party. My niece, usually wary of ricotta, kept coming back for more — the chocolate chips won her over. I also discovered that lightly draining ricotta for 30 minutes gives a firmer slice and avoids watery edges, a small trick that makes every square slice like a bakery bar.
Ingredients
- Ricotta (15 ounces): Use whole-milk ricotta for the creamiest texture; brands like Galbani or Polly-O are reliable. If using fresh ricotta, drain in a fine sieve for 20–30 minutes to remove excess whey.
- Powdered sugar (1 cup): Adds smooth sweetness and helps stabilize the filling; sift before mixing if lumpy. For a slightly warmer flavor, swap to coconut sugar in equal measure, though the texture will be less silky.
- Vanilla extract (1 teaspoon): Use a pure vanilla extract — it lifts the dairy notes and rounds out the sweetness better than artificial vanilla.
- Cinnamon (1/2 teaspoon): A small amount gives the filling a faintly spiced warmth that complements the chocolate; omit if you prefer a pure ricotta flavor.
- Mini chocolate chips (1/2 cup): Dark mini chips add texture and counterpoint to the sweet ricotta. Use mini size so they distribute evenly in each bite.
- Pre-made pie crusts (14-ounce package): Two crusts (typically 2 sheets) pressed into a 9x9-inch baking dish form the crisp base and top. Substitute your favorite homemade flaky crust for added depth.
- Egg (1, beaten): For egg wash — gives the top crust a shiny, golden finish and helps sugar adhere.
- Sugar (1 tablespoon): Sprinkle on top before baking for a light sparkle and slight caramelization on the crust.
- Optional garnishes: Chopped pistachios, maraschino cherries, or extra chocolate chips to finish each square for color and texture contrast.
Instructions
Prepare the filling: Place 15 ounces of ricotta into a medium mixing bowl. Add 1 cup powdered sugar, 1 teaspoon vanilla extract, and 1/2 teaspoon cinnamon. Stir gently until silky — avoid overbeating, which can break down the curds and make the filling grainy. Fold in 1/2 cup mini chocolate chips so they’re evenly distributed; set aside. If the ricotta seems loose, drain it in a fine-mesh sieve for 20–30 minutes first. Preheat the oven: Set the oven to 375°F (190°C) and position a rack in the middle to ensure even browning. Line the 9x9-inch baking dish with a sheet of parchment for easy removal, or grease lightly if you prefer to press crust directly into the dish. Roll and press the bottom crust: Gently unroll one pie crust and press it into the prepared 9x9-inch pan, making sure it reaches up the sides slightly. Patch any tears with small pinched pieces of dough. Use a fork to dock the bottom lightly to prevent large air bubbles during baking. Fill evenly: Spread the ricotta mixture evenly over the bottom crust using an offset spatula, leaving a small margin around the edges to help seal the top crust. Smooth the surface to create an even layer to bake consistently. Top crust and finish: Unroll the second crust and place it gently over the filling. Trim any excess dough and press the edges together to seal. Crimp with fingers or a fork. Brush the top with the beaten egg to encourage golden color, then sprinkle 1 tablespoon sugar over the surface for sparkle and crispness. Bake: Place on the middle rack and bake for 30–35 minutes, or until the crust is deep golden and the filling sets at the edges. If the top is browning too quickly, tent with foil for the final 10 minutes. Cool and cut: Allow the pan to cool for at least 30 minutes, then chill in the refrigerator for 1 hour for clean slicing. Use a sharp knife dipped in hot water and wiped between cuts to make neat squares. Garnish each piece with chopped pistachios, a cherry, or extra chips if desired before serving.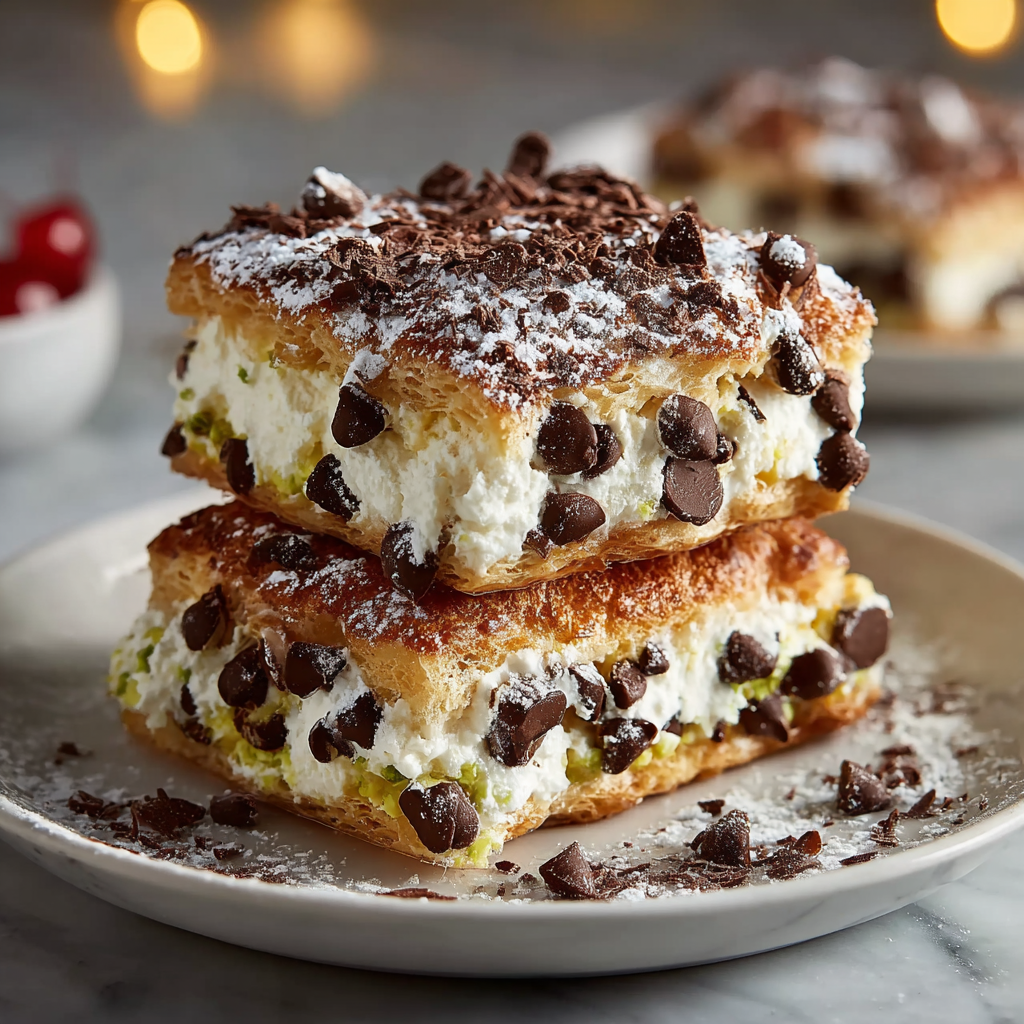
You Must Know
- These hold up well refrigerated for up to 3 days; store in an airtight container with parchment between layers to prevent sticking.
- Can be frozen for up to 3 months: wrap tightly in plastic, then foil; thaw overnight in the refrigerator and garnish just before serving.
- High in calcium and moderate in protein thanks to the ricotta, but they are not low-carb or gluten-free unless you substitute specialized ingredients.
- Draining ricotta prevents watery filling that makes edges soggy; a 30-minute drain in a sieve improves texture significantly.
- Swap to low-fat ricotta for a lighter bar but expect a slightly less luxurious mouthfeel and firmer set.
My favorite part is the contrast of textures: the flaky, slightly crisp crust with the cool, velvety filling. Watching guests light up at the first bite never gets old — these squares have saved more than one gathering for me, turning a simple sweet into a memorable moment.

Storage Tips
Store cooled squares in a single layer or with parchment between layers in an airtight container in the refrigerator for up to three days. For longer storage, freeze fully cooled squares on a tray until firm, then transfer to a freezer-safe container for up to three months. To reheat, thaw overnight in the fridge and bring to room temperature before serving; a quick 5–8 minute warm-up at 300°F (150°C) will revive the crust’s crispness without melting the filling.
Ingredient Substitutions
If you need a gluten-free option, use a store-bought gluten-free pie crust or make a simple almond flour crust (use 2 1/2 cups almond flour, 1/4 cup sugar, 1/4 teaspoon salt, 1/4 cup melted butter) pressed into the pan and baked briefly. For a dairy-free version, try a firm silken tofu blended with a tablespoon of lemon juice and powdered sugar to taste; texture and flavor will differ but still provide a creamy center. Brown sugar or coconut sugar can replace powdered sugar, though you’ll lose the ultra-smooth mouthfeel.
Serving Suggestions
Serve squares chilled or at cool-room temperature with a dusting of additional powdered sugar or a drizzle of melted dark chocolate. Pair with espresso or a dessert wine like Vin Santo for an Italian finish. For brunch, arrange with fresh berries and lightly whipped cream; for holiday platters, top each square with a whole pistachio and a small maraschino cherry for festive color.
Cultural Background
Cannoli are a classic Sicilian pastry traditionally made of fried tube-shaped shells filled with sweet ricotta. This tray-bake is an Americanized adaptation that keeps the essential flavors — ricotta, vanilla, and chocolate — while simplifying the technique for home kitchens. Variations across Sicily include citrus zest, candied fruit, and different nut toppings, reflecting the island’s layered culinary history.
Seasonal Adaptations
In winter, stir in 1 teaspoon of orange zest to the filling and top with candied orange peel for warmth. In spring, fold in a tablespoon of lemon curd for brightness and garnish with fresh berries. For holiday tables, mix finely chopped toasted almonds into the filling and finish with a sprinkle of cinnamon sugar on top.
Meal Prep Tips
Make the filling up to two days ahead and store tightly covered in the refrigerator. Par-bake the crusts for 6–8 minutes if you want extra-crisp bottom layers — cool, then assemble when ready to bake. For large gatherings, bake multiple pans and keep them chilled; garnish just before serving to maintain the best texture and appearance.
These squares are approachable, forgiving, and always a crowd-pleaser. Try them once and keep this shortcut in your repertoire for every occasion that calls for something sweet and slightly nostalgic.
Pro Tips
Drain ricotta in a fine-mesh sieve for 20–30 minutes to prevent a watery filling and achieve clean slices.
Chill the baked pan for 1 hour before slicing; use a knife warmed under hot water and wiped between cuts for neat edges.
If the top crust browns too quickly, tent loosely with foil for the last 10 minutes of baking to avoid overcoloring.
This nourishing classic cannoli squares recipe is sure to be a staple in your kitchen. Enjoy every moist, high protein slice — it is perfect for breakfast or as a wholesome snack any time.
Tags
Classic Cannoli Squares
This Classic Cannoli Squares recipe makes perfectly juicy, tender, and flavorful steak every time! Serve with potatoes and a side salad for an unforgettable dinner in under 30 minutes.
Ingredients
Filling
Crust
Garnish (optional)
Instructions
Prepare the filling
Combine 15 ounces ricotta, 1 cup powdered sugar, 1 teaspoon vanilla, and 1/2 teaspoon cinnamon in a bowl; stir gently until smooth and fold in 1/2 cup mini chocolate chips. Drain ricotta first if too loose.
Preheat oven
Preheat oven to 375°F (190°C). Prepare a 9x9-inch baking dish with parchment or light grease and position a rack in the center of the oven.
Press bottom crust
Unroll one pie crust and press into the pan, ensuring it reaches the sides. Dock lightly with a fork to prevent large bubbles during baking.
Add filling
Spread the ricotta mixture evenly over the bottom crust using an offset spatula, leaving a small margin at the edges for sealing.
Top crust and finish
Place the second crust over the filling, trim, and seal edges. Brush with beaten egg and sprinkle 1 tablespoon sugar over the top.
Bake
Bake 30–35 minutes until the crust is golden and the filling has set at the edges. Tent with foil if the top browns too quickly.
Cool and serve
Cool at least 30 minutes, then chill for 1 hour for clean slices. Cut into 9 squares, garnish, and serve chilled or at cool-room temperature.
Last Step: Please leave a rating and comment letting us know how you liked this recipe! This helps our business to thrive and continue providing free, high-quality recipes for you.
Nutrition
Did You Make This?
Leave a comment & rating below or tag
@mrsrecipe on social media!
Categories:
You might also like...

5-Minute Thanksgiving Appetizers That Wow Every Guest
Tiny crostini topped with creamy cheese, bright cranberry, crunchy pecans and rosemary — an effortless 5-minute starter that looks festive and tastes like the holidays.

African-Style Pancakes (Fluffy, Comforting, and Easy)
Light, slightly spiced pancakes inspired by African home kitchens—fluffy, buttery, and perfect for breakfast or brunch with syrup, cinnamon sugar, or a savory filling.
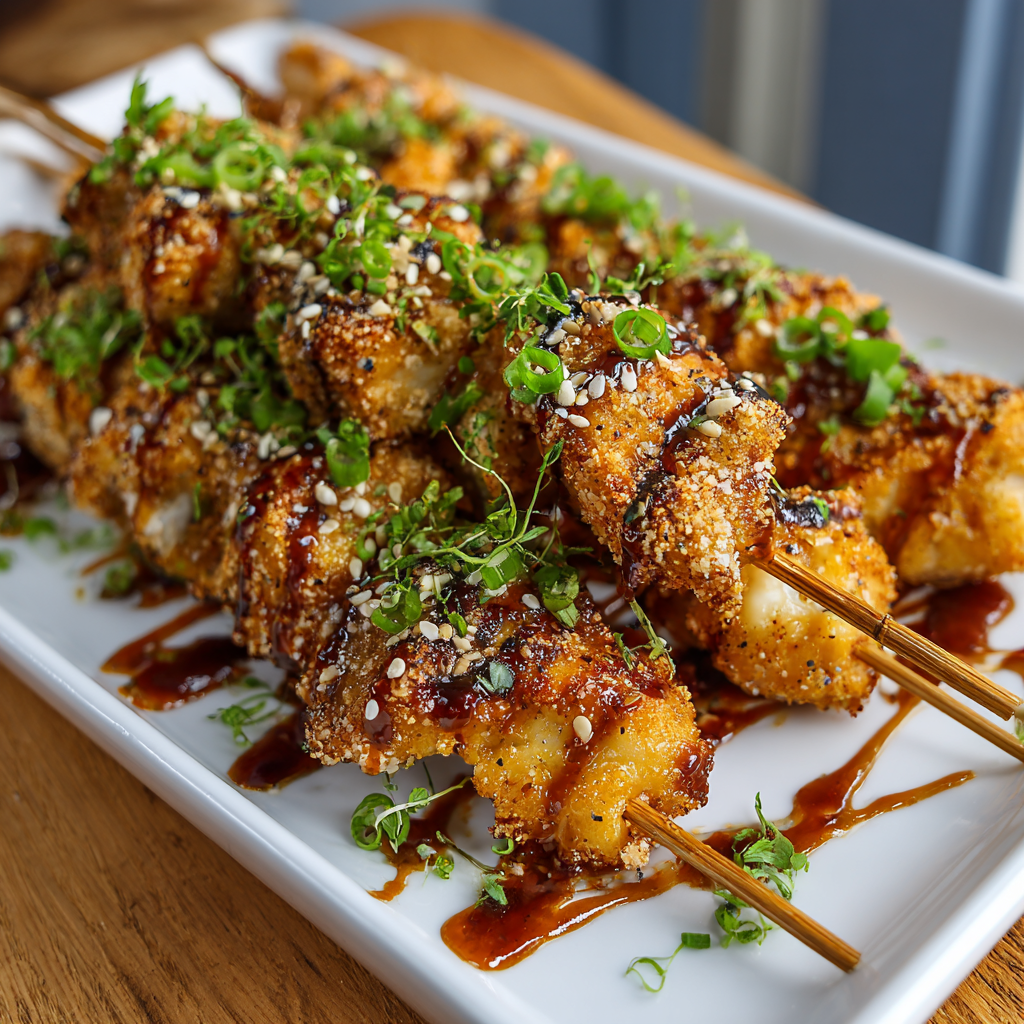
Air Fryer Bang Bang Chicken Skewers
Crispy, saucy chicken skewers made in the air fryer with a sweet-spicy bang bang sauce—perfect for weeknight dinners, parties, or meal prep.
Did You Make This?
Leave a comment & rating below or tag @mrsrecipe on social media!
Rate This Recipe
Share This Recipe
Enjoyed this recipe? Share it with friends and family, and don't forget to leave a review!
Comments (1)
This recipe looks amazing! Can't wait to try it.
Comments are stored locally in your browser. Server comments are displayed alongside your local comments.
Hi, I'm Clara!
What's Popular
Get My 30-Minute Meals email series!
Quick and easy dinner ideas delivered to your inbox.