
Cheesy Sweet Potato Stacks

Layered sweet potato rounds roasted until tender and finished with melty cheese and fresh herbs for a simple, family-friendly side.

This recipe for cheesy sweet potato stacks has become one of those small rituals in my kitchen that signals comfort and celebration at the same time. I first landed on this idea on a weeknight when I wanted something more special than roasted wedges but with minimal hands-on time. Slicing the sweet potatoes thinly and stacking them felt indulgent, and once I added a thin sprinkle of paprika and a final blanket of shredded cheese, everyone at the table smiled the same way they do when a simple ingredient is treated with care. The result is tender rounds with caramelized edges and a soft, creamy interior held together by gooey cheese.
I discovered the technique while experimenting with leftover sweet potatoes after a holiday meal. Instead of mash, I wanted something that showcased the sweetness and texture of the tuber. After a few trials stacking three to four slices and adjusting oven time, this version emerged as the most reliable: crisp at the edges, soft through the center, and ready in under an hour. It works as a side to roast chicken for a family dinner or as a star on a holiday table, and it doubles easily for company. These stacks are approachable, forgiving, and perfect for cooks who love straightforward techniques and delicious outcomes.
Why You'll Love This Recipe
- Hands-off roasting yields tender sweet potato rounds with lightly crisped edges while requiring minimal active time from you.
- Uses pantry staples like olive oil, garlic powder, and paprika for quick prep and predictable flavor that pleases a crowd.
- Ready in about 40 to 45 minutes from start to finish, which makes it ideal for weeknight dinners and last-minute guests.
- Make-ahead friendly: you can roast slices and assemble before guests arrive, then pop them back in the oven to melt the cheese.
- Flexible finishing options: cheddar gives a classic savory hit while other cheeses create different textures and tastes.
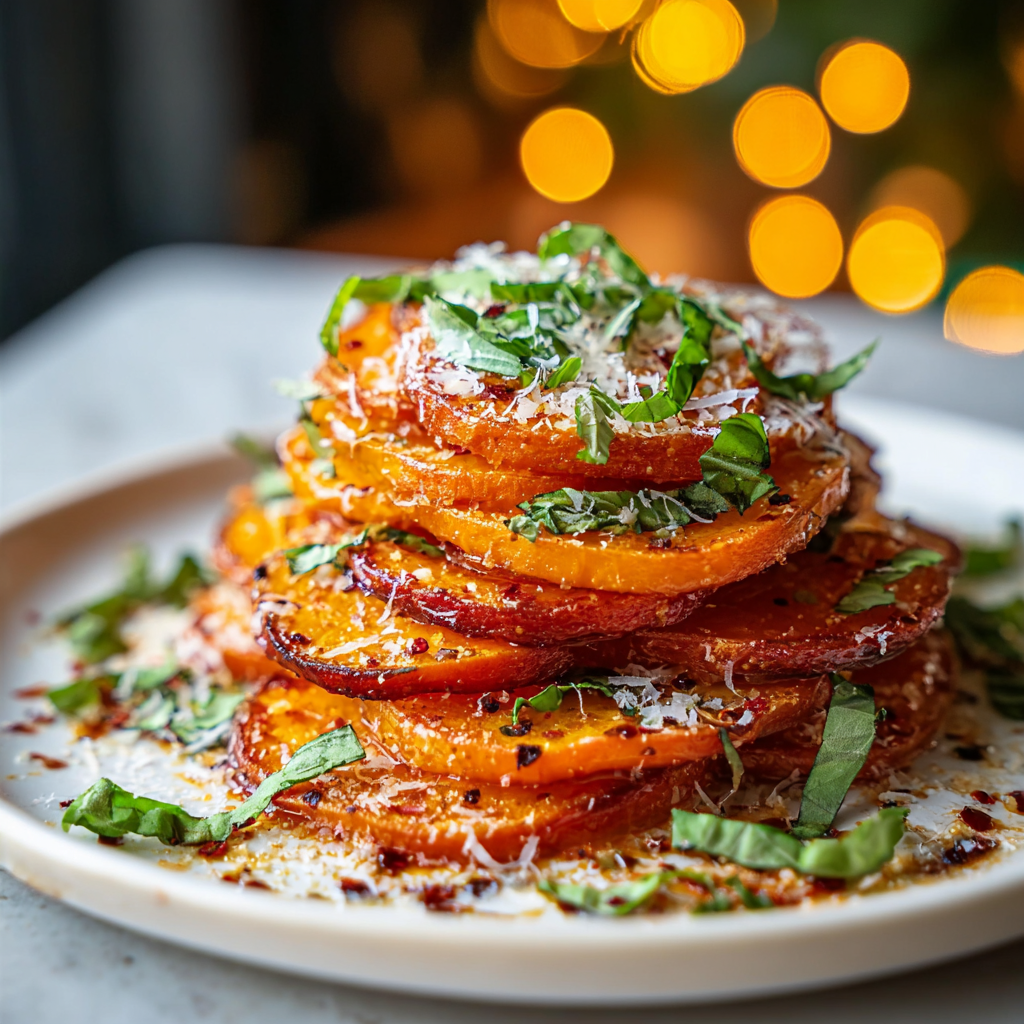
- Visually appealing individual stacks make plating elegant without extra effort and turn a humble side into something memorable.
In my house these stacks have become an immediate favorite. My partner requests them whenever sweet potatoes show up in the market, and I love that picky kids often try them because the presentation makes the dish feel special. Over time I learned small adjustments, like choosing slightly thinner or thicker slices depending on whether I want a more caramelized exterior or a creamier bite, and those tweaks make all the difference when feeding a crowd.
Ingredients
- Sweet potatoes: 2 large sweet potatoes, peeled and sliced into 1/4-inch rounds. Look for firm tubers with smooth skin. Choose orange-fleshed varieties for sweetness and vibrant color. If you find long, evenly shaped potatoes they slice more uniformly, which helps stacks stay balanced.
- Olive oil: 2 tablespoons of extra virgin olive oil for coating the rounds. Use a good quality oil for flavor; the oil helps with browning and keeps the edges crisp without drying the center.
- Garlic powder: 1 teaspoon for savory depth. Garlic powder distributes flavor evenly across slices; you can swap for 1 clove of minced fresh garlic if you prefer a brighter garlic note.
- Paprika: 1 teaspoon for color and a warm, mildly smoky flavor. Use smoked paprika for a deeper profile or sweet paprika for a subtler touch.
- Salt and pepper: To taste. I usually use about 1/2 teaspoon kosher salt and a few twists of black pepper, but adjust to your palate and the saltiness of your cheese.
- Shredded cheese: 1 cup cheddar or your preference. Sharp cheddar melts well and adds a savory contrast to the sweet potato. Gruyere, Monterey Jack, or a blend work beautifully too.
- Fresh herbs: Parsley or chives for garnish. A small handful finely chopped brightens the dish and adds color at the end.
Instructions
Preheat and prepare: Preheat your oven to 400°F. Line a baking sheet with parchment paper to prevent sticking and promote even browning. Arrange a cooling rack on the sheet if you want extra air circulation beneath the stacks but placing stacks directly on parchment is perfectly fine for a softer base. Allow the oven to reach full temperature before the first roast cycle for consistent results. Season the rounds: In a large bowl, add the sweet potato rounds, 2 tablespoons olive oil, 1 teaspoon garlic powder, 1 teaspoon paprika, and salt and pepper to taste. Toss gently to coat each slice evenly. If you prefer oil distribution with less tossing, drizzle the oil over the slices on the sheet and brush or use your hands to coat them. Stack on the sheet: Begin stacking the rounds in small towers of 3 to 4 slices each on the lined baking sheet, keeping about 1/2 inch between stacks so hot air can circulate. Stacking helps the center stay moist while the exposed edges crisp. If some stacks lean, adjust slice sizes so each stack has a broader base for stability. Roast until tender: Bake in the preheated oven for 25 to 30 minutes, or until sweet potato slices are tender when pierced with a fork and lightly golden at the edges. Check at 20 minutes and rotate the pan if your oven has hot spots. Internal doneness is the key; you want the center soft without the slices falling apart. Add cheese and finish: Remove the sheet from the oven and evenly sprinkle about 1 cup shredded cheese over the top of each stack. Return the sheet to the oven and bake for an additional 5 to 7 minutes until the cheese has melted and is bubbly. For a browned top, switch to the broiler for 1 minute, watching closely to prevent burning. Rest and garnish: Allow the stacks to cool for a few minutes, which helps the cheese set slightly so stacks hold together when plated. Garnish with chopped parsley or chives and serve warm as a side or a small plated appetizer.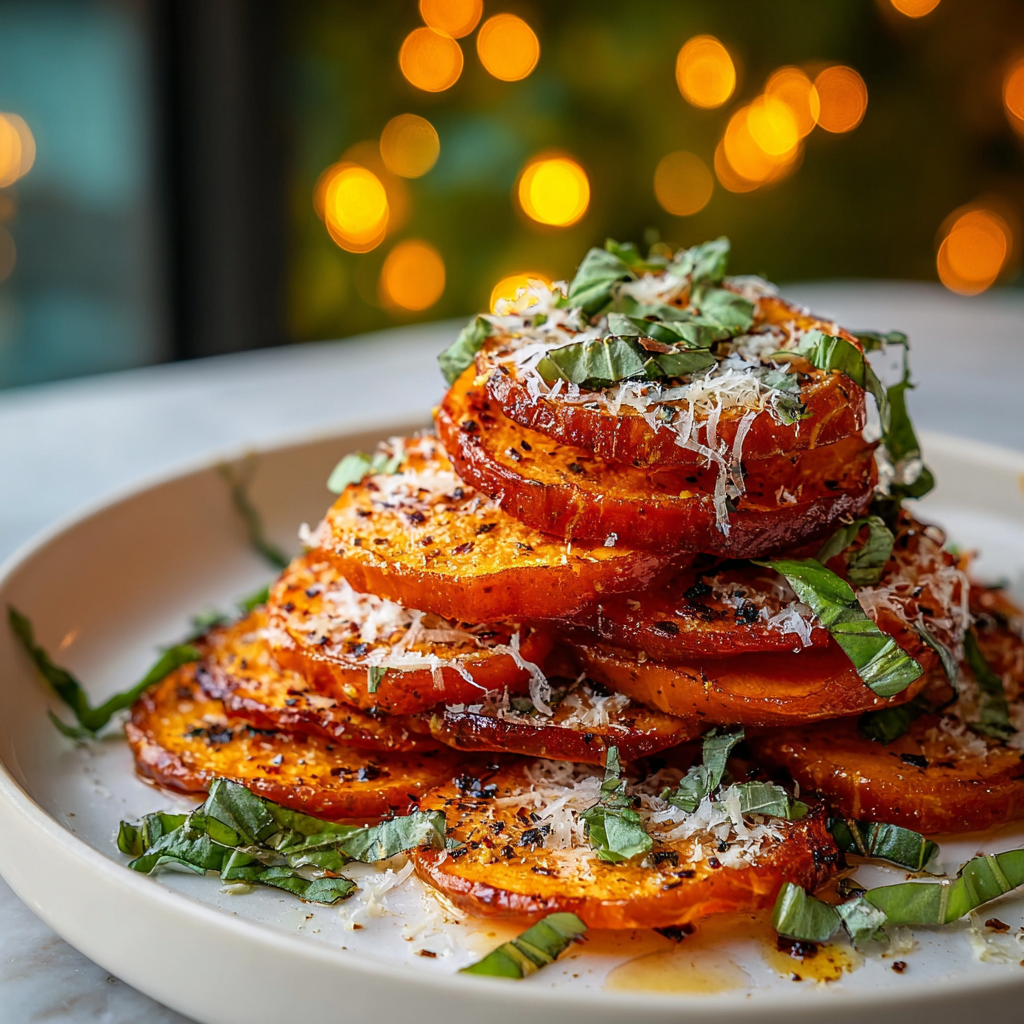
You Must Know
- These stacks are high in vitamin A and fiber while offering a satisfying savory finish when topped with cheese.
- They freeze well for up to three months if roasted without cheese; reheat and add fresh cheese to finish for best texture.
- Use even slices for uniform cooking; a mandoline set to 1/4 inch yields consistent results and faster assembly.
- Adjust oven time if your slices are thinner or thicker; thinner slices may be done at 20 to 22 minutes and thicker ones may need a few extra minutes.
- Leftovers reheat in a 350°F oven for 10 minutes to restore crispness rather than microwaving, which makes them soggy.
What I love most is the way these stacks elevate a simple ingredient. They turn a humble root vegetable into an elegant plate with little fuss. Friends admire the presentation and kids eat more vegetables when served this way. Over the years I have learned that small changes, like finishing with a squeeze of lemon or a dusting of smoked paprika, can tailor the dish to seasons and mood.
Storage Tips
Store cooled stacks in an airtight container in the refrigerator for up to four days. If you plan to freeze, arrange stacks on a baking sheet in a single layer and flash-freeze for an hour, then transfer to a freezer bag for up to three months. When reheating refrigerated stacks, place them on a baking sheet at 350°F for 8 to 12 minutes to regain crispness. For frozen stacks, thaw overnight in the refrigerator and reheat in the oven until warm, then add fresh cheese and return to the oven to melt.
Ingredient Substitutions
If you do not have cheddar, try gruyere for a nuttier flavor or Monterey Jack for a mellow melt. For a dairy-free option, use a plant-based shredded cheese or a simple olive oil drizzle with a sprinkle of nutritional yeast for umami. Swap paprika for a pinch of cayenne if you want heat, reducing amount to taste. If sweet potatoes are unavailable, use thinly sliced russet or Yukon gold potatoes and extend roast time slightly until tender.
Serving Suggestions
Serve stacks alongside roast chicken or grilled fish for a classic family dinner. They pair well with a crisp green salad dressed with lemon vinaigrette to cut through the richness of the cheese. For a brunch twist, top stacks with a soft-poached egg and a scatter of chives. Garnish with microgreens or a dollop of sour cream mixed with lemon zest for an elegant finish when entertaining.
Cultural Background
Layered vegetable preparations appear in many culinary traditions where home cooks emphasize texture and presentation. This version leans on American comfort flavors, showcasing the sweet potato, which has deep roots in Southern cooking and holiday traditions. The combination of roasted sweet potatoes and melted cheese is a contemporary take that borrows the spirit of gratins and layered tarts, marrying rustic produce with a silky, savory finish.
Seasonal Adaptations
In autumn and winter, add rosemary or sage to the seasoning for an earthy, festive profile. During spring and summer, lighten the dish with fresh lemon and chopped basil or swap cheddar for a tangy feta and finish with a sprinkle of toasted seeds. For holiday tables, make smaller stacks to serve as individual bites or top with a cranberry relish to echo seasonal flavors.
Meal Prep Tips
To streamline weeknight cooking, slice sweet potatoes and season them the night before, keeping slices covered in the refrigerator. Pre-stack on parchment and keep covered until ready to bake. If preparing for a meal prep plan, roast plain slices in advance, then assemble individual portions with cheese just before reheating to maintain the best texture. Use labeled containers and airtight lids to keep portions fresh and easy to grab.
These stacks are approachable, adaptable, and inviting. Whether you are feeding family or entertaining friends, the combination of sweet roasted potato, warm melted cheese, and fresh herbs makes a simple but memorable plate. Try different cheeses and garnishes until you find the version that becomes your household favorite.
Pro Tips
Use a mandoline for consistent 1/4-inch slices but always protect your fingers with a guard.
Rotate the baking sheet halfway through roasting to prevent hot spots from over-browning some stacks.
For extra crispness under the stacks, place a cooling rack on the baking sheet and arrange stacks on the rack.
If you prefer less mess, assemble stacks in mini muffin tins to keep them perfectly shaped while baking.
This nourishing cheesy sweet potato stacks recipe is sure to be a staple in your kitchen. Enjoy every moist, high protein slice — it is perfect for breakfast or as a wholesome snack any time.
FAQs about Recipes
Can I prepare the stacks ahead of time?
Yes, you can assemble the stacks ahead of time and refrigerate them without the cheese for up to 24 hours. Add the cheese and bake just before serving.
What thickness should I slice the sweet potatoes?
Thin slices of 1/4 inch cook evenly and hold together in stacks. Use a mandoline for consistent results but exercise caution.
How can I get a browned cheese topping?
If you need to brown the cheese quickly, broil for one minute while watching closely to avoid burning. Keep the oven rack a safe distance from the broiler element.
Tags
Cheesy Sweet Potato Stacks
This Cheesy Sweet Potato Stacks recipe makes perfectly juicy, tender, and flavorful steak every time! Serve with potatoes and a side salad for an unforgettable dinner in under 30 minutes.
Instructions
Preheat and prepare
Preheat the oven to 400°F and line a baking sheet with parchment paper. Arrange a cooling rack on the sheet if desired to aid air circulation under the stacks.
Season the rounds
Toss sweet potato rounds with 2 tablespoons olive oil, 1 teaspoon garlic powder, 1 teaspoon paprika, and salt and pepper to taste until evenly coated.
Stack on the sheet
Create small towers of 3 to 4 slices each on the parchment-lined sheet, spacing them about 1/2 inch apart to allow hot air to circulate.
Roast until tender
Bake for 25 to 30 minutes until the slices are tender and golden at the edges. Check at 20 minutes and rotate the pan if needed.
Add cheese and finish
Remove the sheet, sprinkle 1 cup shredded cheese over each stack, and return to the oven for 5 to 7 minutes until the cheese melts and bubbles. Broil for 1 minute if you want a browned top.
Rest and garnish
Allow stacks to cool for a few minutes to set, then garnish with chopped parsley or chives and serve warm.
Last Step: Please leave a rating and comment letting us know how you liked this recipe! This helps our business to thrive and continue providing free, high-quality recipes for you.
Nutrition
Did You Make This?
Leave a comment & rating below or tag
@mrsrecipe on social media!
Categories:
You might also like...

5-Minute Thanksgiving Appetizers That Wow Every Guest
Tiny crostini topped with creamy cheese, bright cranberry, crunchy pecans and rosemary — an effortless 5-minute starter that looks festive and tastes like the holidays.

African-Style Pancakes (Fluffy, Comforting, and Easy)
Light, slightly spiced pancakes inspired by African home kitchens—fluffy, buttery, and perfect for breakfast or brunch with syrup, cinnamon sugar, or a savory filling.

Air Fryer Bang Bang Chicken Skewers
Crispy, saucy chicken skewers made in the air fryer with a sweet-spicy bang bang sauce—perfect for weeknight dinners, parties, or meal prep.
Did You Make This?
Leave a comment & rating below or tag @mrsrecipe on social media!
Rate This Recipe
Share This Recipe
Enjoyed this recipe? Share it with friends and family, and don't forget to leave a review!
Comments (1)
This recipe looks amazing! Can't wait to try it.
Comments are stored locally in your browser. Server comments are displayed alongside your local comments.
Hi, I'm Clara!
What's Popular

Get My 30-Minute Meals email series!
Quick and easy dinner ideas delivered to your inbox.