>>
30-MINUTE MEALS! Get the email series now →


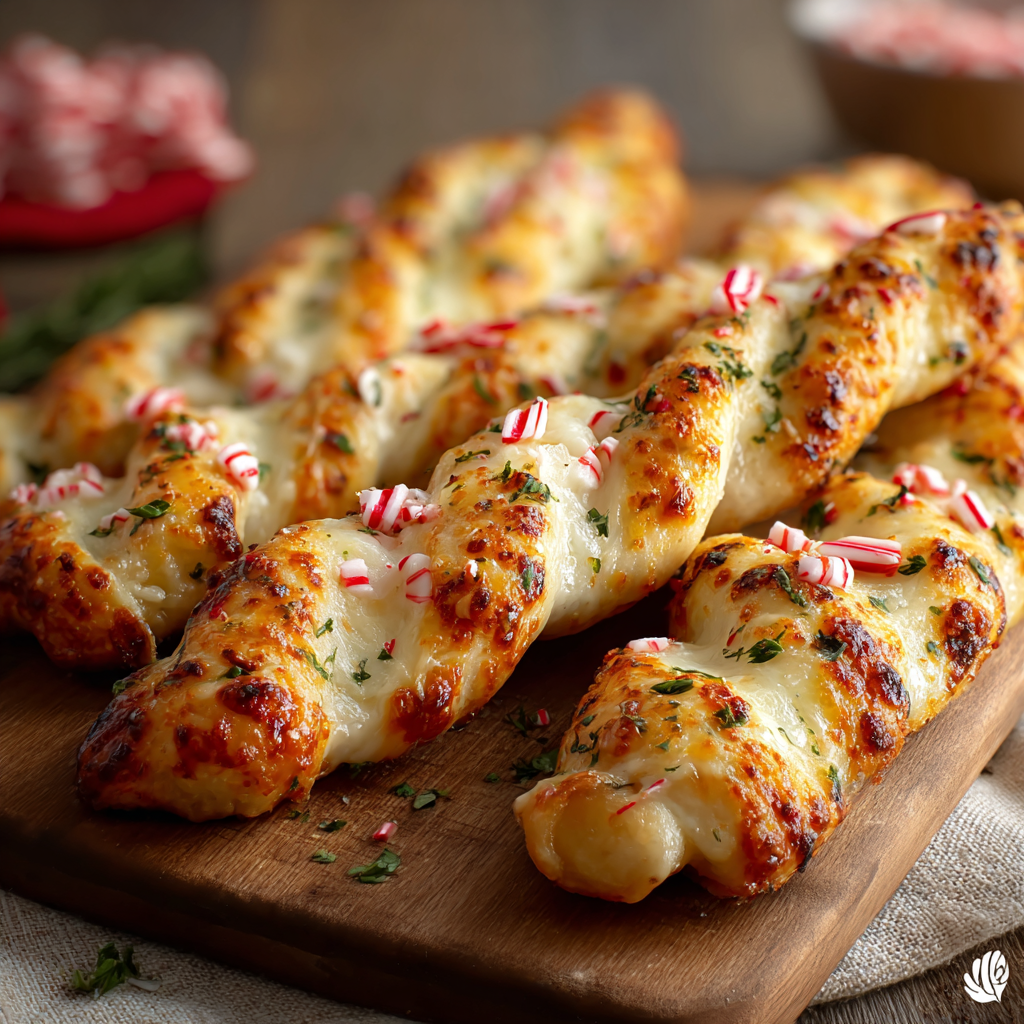
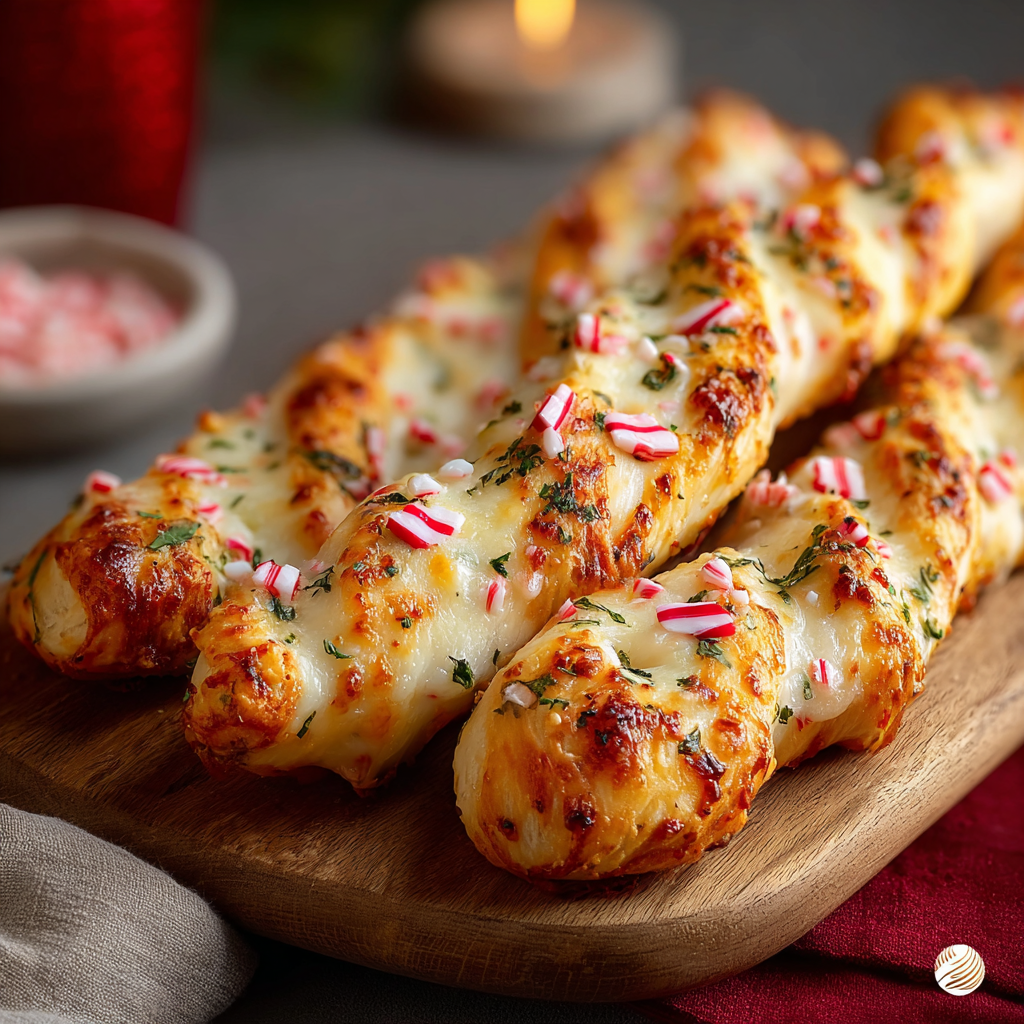
Festive, easy-to-make candy cane–shaped pizza bread sticks filled with marinara and gooey mozzarella — a holiday appetizer that’s ready in under 30 minutes.

This playful Candy Cane Pizza Bread Sticks recipe became a holiday tradition the first winter I tried to make a fun appetizer for my nieces. I wanted something that looked festive but didn’t require complicated shaping or hard-to-find ingredients. Using a single can of refrigerated pizza dough and a jar of thick marinara led to soft, pillowy sticks with pockets of bubbling mozzarella — and the candy cane shape made them disappear faster than any plain breadstick ever could. I discovered the charm of this format on a cold December evening when I was short on time but wanted something visually cheerful for a potluck; the result was so well-loved that guests asked for the recipe on the spot.
What makes these special is the contrast of textures: a tender, slightly chewy dough exterior, crisped golden edges from a quick bake at high heat, and a molten center where the marinara concentrates and the whole-milk mozzarella stretches with every pull. The oregano and extra-virgin olive oil on top add Mediterranean notes and a savory sheen that elevates the snack beyond simple kids’ party food. Whether you’re serving them alongside a holiday spread or as a quick appetizer for unexpected guests, these bread sticks feel festive, taste rich, and are forgiving to make.
On the first night I brought these to a family gathering, my aunt commented how the dough stayed soft inside while the outside formed a lovely golden crust — a detail I aim for every time. We’ve also adapted the filling for a vegetarian crowd by using a meat-free marinara and a high-quality whole-milk mozzarella. The result keeps the spirit of pizza in a playful, handheld form.
My favorite part about these is watching guests pick them up and find the hidden mozzarella pull — it’s always a small delight that makes the snack feel special. One Thanksgiving we served them alongside a soup course; family members used them to scoop and mop up sauce, and I learned to make a slightly thicker marinara cut to prevent sogginess when dunking.
Store cooled sticks in an airtight container in the refrigerator for up to 48 hours; place a sheet of parchment between layers to prevent sticking. For longer keeping, freeze fully baked sticks in a single layer on a tray, then transfer to a freezer bag once solid — they’ll last up to three months. Reheat from chilled in a 350°F oven for 6–8 minutes; from frozen, bake at 375°F for 12–15 minutes until heated through and the crust crisps. Avoid microwaving if you want to preserve texture; microwaves make the dough gummy and reduce the delightful outer crisp.
If you don’t have refrigerated pizza dough, a pre-made pizza crust ball or even store-bought pizza crust sheets will work — just adjust sizing to get eight strips. For a lower-dairy option, use a dairy-free shredded cheese, though the melt and stretch will be less pronounced. Swap dried oregano for a sprinkle of garlic powder and dried basil for a slightly different profile. If you prefer a richer breadstick, brush with garlic butter instead of olive oil after baking. When using thinner marinara, reduce 1/4 cup in the filling and simmer to thicken to prevent soggy dough.
Serve warm on a platter with small ramekins of extra marinara for dipping, or pair with a Caesar salad and roasted vegetables for a light weeknight meal. For a holiday spread, arrange the sticks in a wreath shape around a bowl of warm cheese dip or a pesto aioli. Garnish with torn basil leaves for color pop and a bright herbaceous finish. These are great for kids’ parties, stocking stuffers at potlucks, or as a playful starter for a pizza night.
These sticks are a playful spin on classic Italian-American pizza and breadstick traditions. Pizza’s portability inspired many American innovations — calzones, stromboli, and breadsticks — and shaping the dough into a candy cane is pure holiday creativity. While not a traditional Italian form, the flavor profile leans on Mediterranean staples: olive oil, oregano, and mozzarella, translating familiar tastes into a format that’s festive and approachable for modern gatherings.
In winter, add a pinch of red pepper flakes or include sun-dried tomato pieces in the filling to deepen flavor. For spring and summer, swap oregano for fresh basil and top with a light drizzle of basil oil after baking. At Halloween, shape into little hooks or simple twists and sprinkle with colored sea salt for a playful twist. Small seasonal additions, like roasted garlic in fall or chopped olives in summer, make the snack feel tailored to the occasion without changing the straightforward method.
To streamline weeknight meals, shape dough and assemble sticks on a parchment-lined tray, cover tightly with plastic wrap, and refrigerate for up to 24 hours before baking. Bake directly from chilled, adding an extra minute or two. For batch entertaining, bake several trays and freeze cooled sticks individually wrapped; pop them in the oven as needed. Use clear labels on freezer bags with date and reheat instructions so you can pull out the right quantity for any gathering.
These Candy Cane Pizza Bread Sticks are a small joy — simple, quick, and full of comforting flavor. They invite conversation, sharing, and playful presentation, and they have become one of my go-to items whenever I want something festive without fuss. Try them once, and you’ll find yourself shaping dough into hooks at every holiday.
Let refrigerated dough come to room temperature for about 10 minutes before shaping to prevent tearing and to keep the texture tender.
Use a thick marinara (like Rao's) or reduce a thin sauce by simmering to avoid soggy dough.
Brush with olive oil before baking for better color; brush with garlic butter after baking for richer flavor.
Avoid piling cheese to the edges; leaving a 1/2-inch border prevents leakage and burned edges.
If your oven runs cool, rotate the tray halfway through baking to ensure even browning.
This nourishing candy cane pizza bread sticks recipe is sure to be a staple in your kitchen. Enjoy every moist, high protein slice — it is perfect for breakfast or as a wholesome snack any time.
Yes — you can prepare the shaped sticks and refrigerate for up to 24 hours before baking. Allow them to warm slightly at room temperature for 10 minutes before baking to ensure even rise.
Freeze baked sticks in a single layer, then transfer to a freezer-safe bag for up to 3 months. Reheat at 375°F for 12–15 minutes from frozen.
This Candy Cane Pizza Bread Sticks recipe makes perfectly juicy, tender, and flavorful steak every time! Serve with potatoes and a side salad for an unforgettable dinner in under 30 minutes.
Preheat oven to 425°F and line a baking sheet with parchment. Allow refrigerated dough to sit at room temperature about 10 minutes to make shaping easier and to relax gluten.
On a lightly floured surface, unroll and press dough into a roughly 10 by 8-inch rectangle, being careful not to overwork the dough to maintain tenderness.
Spread 1/2 cup marinara thinly in the center, leaving a 1/2-inch border, then sprinkle 1 cup shredded mozzarella evenly to avoid excess moisture at the edges.
Cut rectangle into 8 lengthwise strips. Pair two strips, press ends together, twist into a spiral and curve the top into a candy cane hook, sealing the tail end to prevent leakage.
Brush each stick lightly with 1 tablespoon olive oil and sprinkle with 1/2 teaspoon dried oregano. Arrange on prepared sheet with space for expansion.
Bake at 425°F for 10 to 14 minutes until golden and cheese is bubbly. Let rest 3 to 5 minutes, then garnish with fresh thyme or basil before serving.
Last Step: Please leave a rating and comment letting us know how you liked this recipe! This helps our business to thrive and continue providing free, high-quality recipes for you.
Leave a comment & rating below or tag
@mrsrecipe on social media!

Tiny crostini topped with creamy cheese, bright cranberry, crunchy pecans and rosemary — an effortless 5-minute starter that looks festive and tastes like the holidays.

Light, slightly spiced pancakes inspired by African home kitchens—fluffy, buttery, and perfect for breakfast or brunch with syrup, cinnamon sugar, or a savory filling.
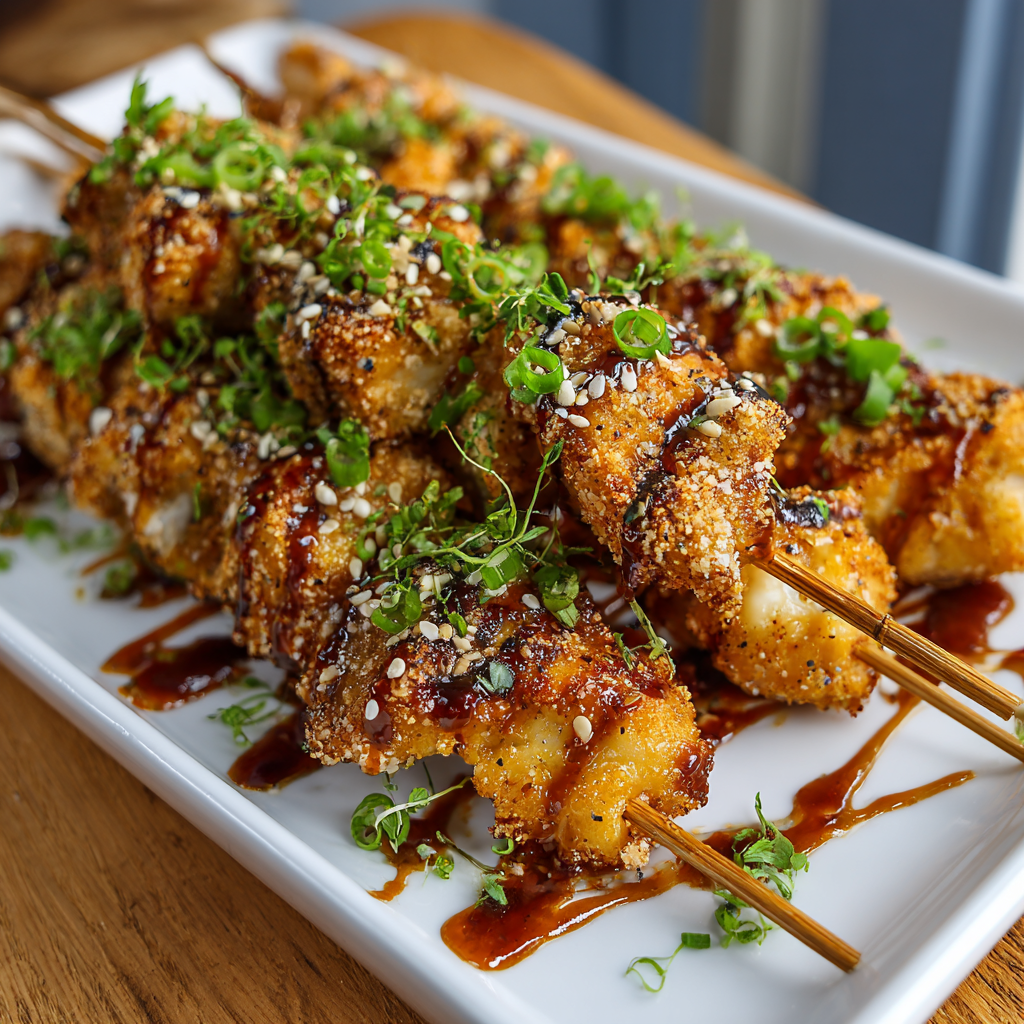
Crispy, saucy chicken skewers made in the air fryer with a sweet-spicy bang bang sauce—perfect for weeknight dinners, parties, or meal prep.
Leave a comment & rating below or tag @mrsrecipe on social media!
Enjoyed this recipe? Share it with friends and family, and don't forget to leave a review!
This recipe looks amazing! Can't wait to try it.
Comments are stored locally in your browser. Server comments are displayed alongside your local comments.
Quick and easy dinner ideas delivered to your inbox.